

How to Choose The Right Set of Surfboard Fins
Here's something I wish someone had told me when I bought my first surfboard: the right fins can transform a board from one you hate into the best board in your quiver.
The question is, how do you know which fins will actually make a board magic without buying them all?
Fin choices are overwhelming these days. There are so many templates, color choices, flex patterns, constructions… and the list goes on.
It doesn’t help that fins are really a personal preference — there is no one universal fin set that works for every board or for every person.
But personal doesn't mean random. There's a systematic way to think through fin selection to find the performance you’re looking for. And once you understand the mechanics, finding what works for you stops becoming guesswork.
I’ve bought an uncomfortable amount of fins over the last 5 years (pictured above). Here’s everything I’ve learned about fins and finding the ones that feel great in any board you own.
What Does it Feel Like When Your Fins are “Right”?
This was one of the most difficult questions for me to answer when I was trying to progress as a surfer. So I’m going to attempt to answer this question for you from my own perspective.
When you get your fins right, your board should feel frictionless and free rail to rail, but also glued to the face through a turn like a Formula 1 car in a high speed corner.
Loose enough to pivot off the top the way you want it to, but with enough projection to draw the arc you want with a carve.
No pushback, and no nursing it through turns. You should be able to stop thinking about what the board is doing and you just surf the wave in front of you.
There are a few other nuances to this, but in my experience, if you can find a set of fins that feels like what I’ve described, you’re about 90% of the way there.
Over the course of the rest of this article, I’ll show you how to actually find the fins that will feel like that to you in your board.
What the Different Parts of a Fin Actually Do
In order to understand what fin might feel best in your board, it helps to understand what you're actually adjusting when you swap one set out for another.
Most fin guides give you a glossary of terms here and leave you to figure out what any of it means in the water — it’s why I’ve spent way too much money on fins trying to figure this out lol.
So I’m going to skip most of that and focus on the variables that control the majority of what you’re feeling underfoot.
Rake
Rake is how swept-back a fin is relative to its base and mostly controls how much the nose swings around when you turn
A fin with a lot of rake has a tip that is further from the trailing edge of the base. A more upright fin has a tip that is closer to the trailing edge of the base.
More rake means less side to side looseness (yaw) — the board follows the arc of the turn dictated by the rocker rather than pivoting in the top.
Less rake means the opposite: looser side to side and more pivot in turns.
Think of it like the difference between a grinding carve and a quick snap in the lip. Rake is a big part of what determines which one your board naturally wants to do.
Height
Height is how tall the fin is and how far it extends below the board into the water.
More height gives you more hold rail to rail. It keeps you connected to the face of the wave and resists the board washing out sideways.
When you lean into a turn and engage the rail, a taller fin restricts that rail to rail movement more, like a skeg on a sailboat. A shorter fin gives you a looser, more skatey feel — easier to slide the tail around, less resistance when you want to release.
Base (and Area)
The base is the length of the fin where it connects to the board.
More base means more water gets redirected towards the tail in a turn, which translates into more drive, or how much the board projects through a turn (note: rake also plays a role here, but in a different way).
Generally when you increase the length of the base of a fin, you’re also increasing the total area of the fin. Area has a similar effect on performance as increasing the base (which is why I lumped them together, even though they are technically separate).
More surface area in your fin contributes to drive and hold for the same reason a bigger wing on a plane generates more lift force.
Foil
Foil is the profile/cross section of your fin. It looks like an airfoil on an airplane wing, and contributes to how much projection you get through a turn.
Foil is pretty nuanced and to be completely honest, it’s not something I’ve totally worked out how to articulate yet because I pretty much only ride flat inside foils on my fins. And that’s because flat inside foils just feel right to me.
What I’ve determined so far is that flat foils generate more projection and control through turns than symmetrical or 80/20 foils, which tend to be looser side to side (similar effect in theory to an upright fin template but different in feeling).
I’ll update this article once I experiment some more. But my takeaway so far is that if for powerful surfing on rail, go with a flat inside foil fin.
Cant
Cant is how splayed out a fin is towards the side of the board. A fin with zero degrees of cant will be perpendicular to the bottom of the board (90°), whereas a fin with 6° of cant is 96° relative to the bottom of the board.
The more perpendicular a fin is to the bottom of the board (i.e. less cant), the more drive that fin will generate and the less maneuverability it will provide. More cant increases maneuverability but reduces drive.
Cant is not something I would worry about when selecting fins. However, I’ve included it here for reference in case you’re curious, as it does have a significant effect on the way fins feel in your boards.
Fin Configuration and Placement
The design attributes above will feel different depending on where the fin is placed on the board itself. And the easiest way to understand how placement affects feel is to start with just one fin and think about what happens when you move it around.
For example, if you were to slide a single fin back in the box (toward the tail of the board), it behaves a lot like if you were to add rake to the fin — it increases projection and restricts how much the nose pivots through a turn. Slide it forward and the opposite happens: the board gets looser, turns get snappier, the board becomes easier to redirect.
Caption: This all depends on foot placement of course.
Move that same fin closer to the rail and it has more leverage when you engage the rail — it pushes back harder, giving you more hold and projection on rail. Move it toward the center and you lose that leverage, which loosens the board up rail to rail.
That's pretty much all there is to it. Every fin configuration — twin, thruster, quad, etc. — is just a different way of distributing fin area around the board to achieve a different balance of those feelings.
Single Fin
With single fins, all of the fin area is in one place, centered under the board. Maximum yaw control, drawn out turns, and the whole board drives off of that one point where the fin attaches to the board.
Singles reward patience — you have to work with the wave rather than against it. But when you get it right, the feeling is unlike anything else. They make you a better surfer on everything else you ride in my opinion, because there is nothing to stabilize the rail (other than the rail itself).
Twin Fin
Twin fins split the fin area out to the rails with nothing in the center to restrict pivot. They typically are characterized by a lot of projection and drive while on rail, but very little to control how much the nose swings side to side.
Twins are fast and loose, but that looseness can feel unpredictable if you're used to a center fin keeping things in check, especially if you don’t have the tips of a swallow tail for extra bite.
Thruster
Thrusters split the fin area across three fins: two rail fins for drive and hold on rail, with a center fin that controls how quickly the nose comes around. This combination is what makes the thruster feel so stable and predictable — it gives you drive and control without giving up a ton of maneuverability.
Quad
Quads are similar to a twin in that there's no center fin, but they cut some of the fin area out of the leading fin and put it further back toward the tail and in towards the center of the board.
That additional fin area pushed back further restricts the way a board pivots more than a twin would, while still giving you some of the rail-to-rail looseness and down-the-line speed that makes twins so fun.
Quads are fast, drivey, and a little more predictable than twins — a good middle ground if you want a little more control than a twin without going for the totally locked-in feel of a thruster or single fin.
Single + Sidebites (and Twin + Trailer)
A widowmaker setup from the OG himself, Dave Parmenter.
Both of these fin configurations use a three fin setup like a thruster, but distribute the area in different ways for different sensations.
A twin plus trailer, for example, distributes most of the fin area forward and out towards the rail, providing a feeling that is similar to a twin, but also restricting some of the snappiness with a small stabilizer fin.
Singles plus sidebites (the widowmaker setup) feel more like a single fin with a little extra stability in turns when you’re on rail, sort of like a thruster, but still closer to a single fin in feel.
How to Pick the Right Fins for Your Board
If you’re where I was a few years ago, even with all of the knowledge we’ve discussed so far, you’re probably still standing in front of the wall of fins with no idea what to actually grab.
So let's talk about how to actually apply all of that. Here's the process I use — both for my own boards and when I'm helping customers dial theirs in.
Step 1: Start With Your Board's Rocker/Outline
The single most useful thing you can do before buying fins is look at the rocker of the board you're putting them in — specifically, how aggressively the curve kicks up through the tail.
As a general rule, boards with more tail kick can accept a fin template with more rake without feeling stiff. Flatter rockers generally need less rake to stay free and loose.
This is because a flat rocker already wants to go fast and straight, so you need a fin that won’t restrict the way the board pivots side to side.
Boards with a lot of rocker have the opposite problem: the curve of the rocker through the tail naturally wants to pivot and turn, and a raked fin tames that curve to help it project through a turn.
Boards with a neutral rocker curve sit in the middle, and generally pair well with neutral fin templates — fins that aren't strongly raked or strongly upright to complement a curve that is neither aggressive nor flat.
The template/outline of the board works in conjunction with this too. A board with a lot of curve through the outline can generally handle a little more rake. A straighter, more parallel outline tends to prefer something more neutral to upright.
None of this is absolute. I went through a period where I liked raked fins in flat boards specifically because of the drive they added — and it worked for me at the time. But my preferences have shifted and now I like a little more neutral fin.
Step 2: Size for Your Weight
Once you have a direction on template, size is the next decision. And for most surfers, this comes down to two things: how much you weigh, and how hard you push.
Fin brands publish weight guidelines for their templates and they're a solid starting point — medium for lighter surfers, large for heavier ones. If you’re unsure, just start with the size that the fin companies recommend. It’s usually pretty spot on if you get the right template.
One caveat I’ll offer to this: look at the total fin area before you buy. Sometimes a “large fin” is actually between a medium and a large in terms of total area, and that’s going to change the performance you get out of them.
Single fins are a different animal altogether. A good starting point for sizing singles is to choose fins that are the same height in inches as the length of your board in feet. So for example, a 9” fin is a good starting point for a 9-foot board.
Sizing singles up or down will loosen or tighten a board up, assuming fin placement and template stays constant.
Step 3: Don't Overthink Construction
Once you have the template and size dialed, you can start thinking about construction.
But honestly? Don’t overthink it.
A stiff, well-foiled fiberglass fin (or molded equivalent) with a template that matches your board and your weight properly is really all you need.
A stiff fin gives you more immediate response and more drive down the line in any conditions. And when you get the template right, you often won’t even know the fin is there, no matter how stiff it is.
I know people will disagree with me on that, but that’s been my experience. I’ve tried to compensate for a mismatched template with a softer construction far too often. And it never works.
Besides, there’s a reason a lot of pros ride stiff fins with their own custom templates. 😉
Surfboard Fin Systems
Before you can put any of the above into practice, you need to know what fin system your board runs — because not all fins are compatible with all boxes, and if you're building a fin quiver from scratch, the system you commit to matters.
Glass-ons
Before removable fin systems existed, fins were laminated onto the board as part of the build. A glassed-on fin has no box, no plug, no screw — it's fixed permanently to the board, which means there's no play in the connection and no energy lost between the two.
A lot of shapers and surfers swear by the feel, especially on single fins and twins and where that direct connection to the board can add extra drive. Glass-ons have been making something of a comeback recently because of this (and because they look way cool).
The tradeoff is obvious: you're committed. You can't swap fins, you can't experiment, and if you ding the fin you're repairing the board.
For someone who knows exactly what they want and has found a template they love, glass-ons are worth considering. For everyone else, a removable system gives you the flexibility to keep learning.
FCS and FCS II
FCS was one of the first removable fin systems to gain widespread adoption, and for a long time it was the industry standard. The original FCS system uses two small plugs per fin — you insert two tabs on the base of the fin into the plugs and secure them with a small screw.
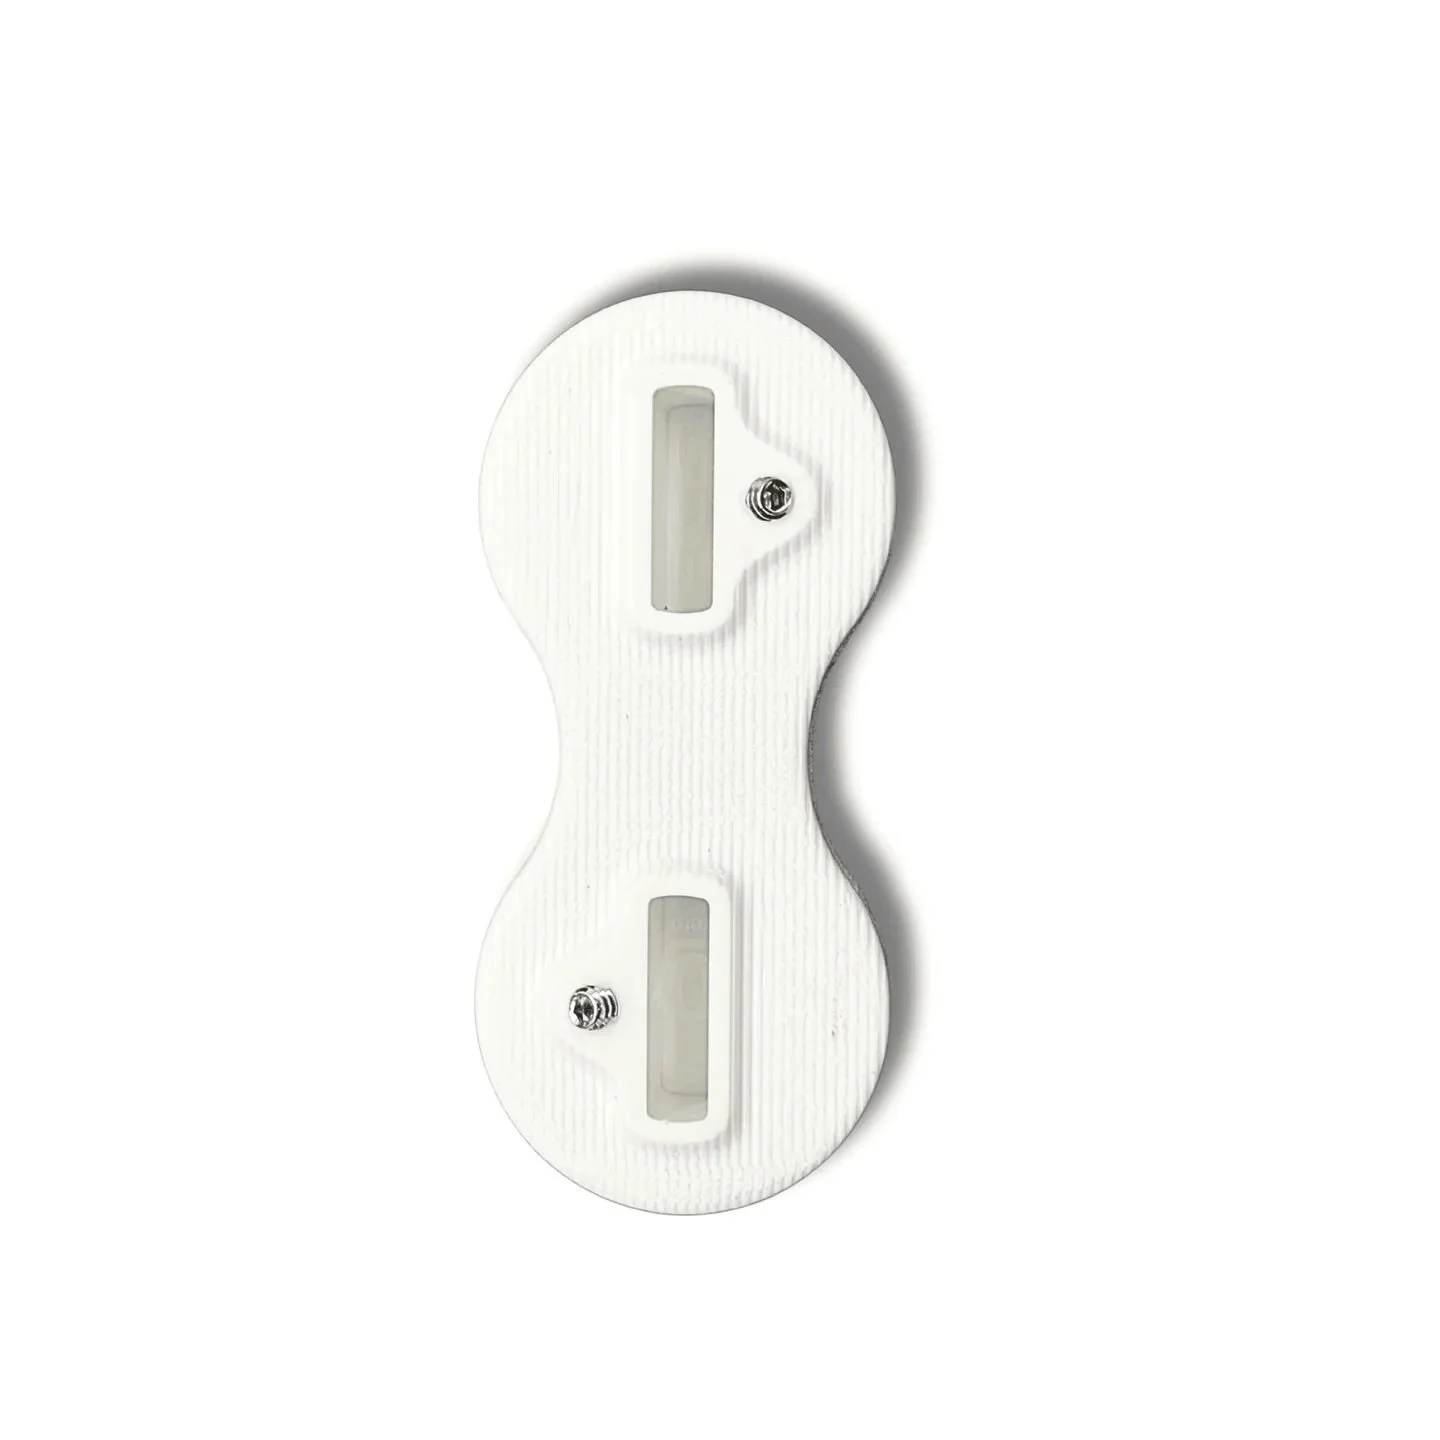
An FCS finbox and fin.
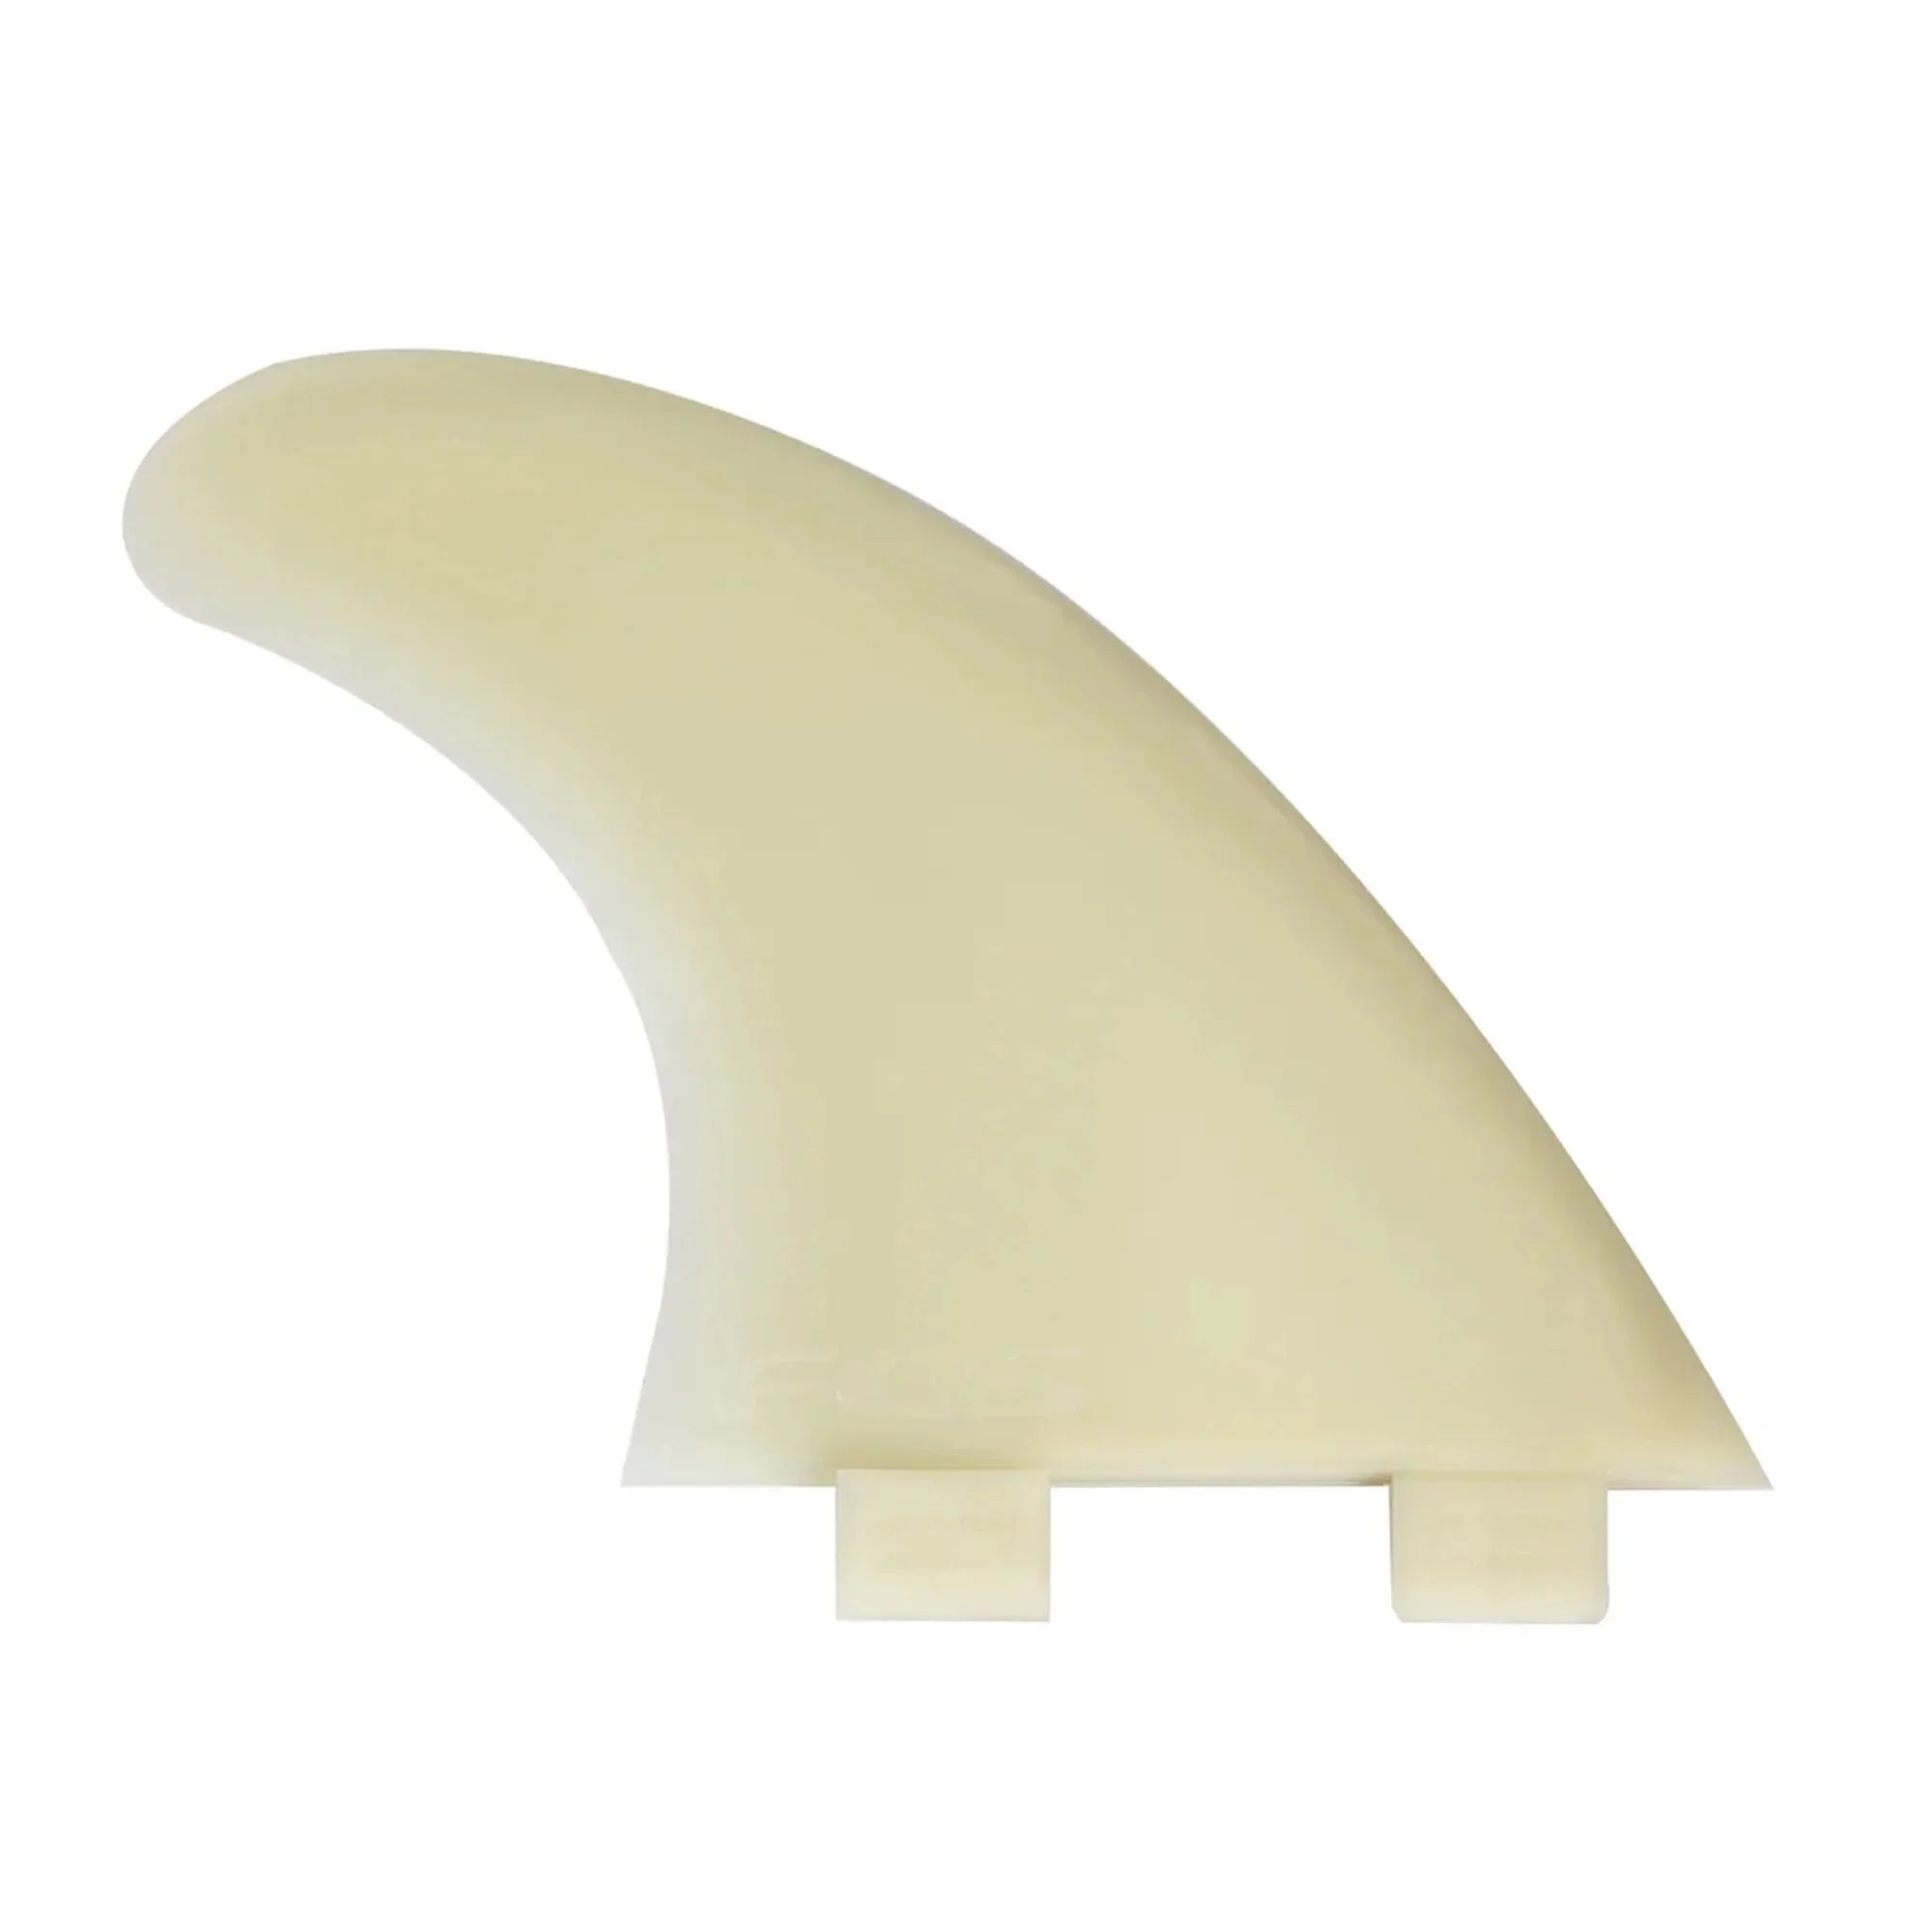
FCS fins worked, but the two-point attachment was/is a weakness: fins can and do break/pull out, especially in heavy surf or after a wipeout.
FCS II is the updated version, designed to address some of these issues. It uses a larger, tool-free connection — you push the fin in and it clicks into place without a screw. Easier to use, more secure than the original.
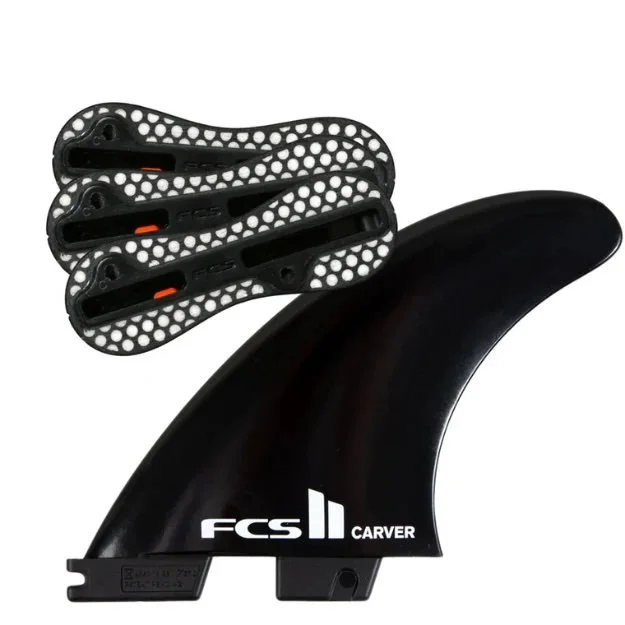
FCS II finbox and fin.
When I first started surfing, I bought boards with FCS II boxes and fins to match. But after a few years of losing fins to the bottom of the ocean (even with the screws in), I ended up switching to Futures.
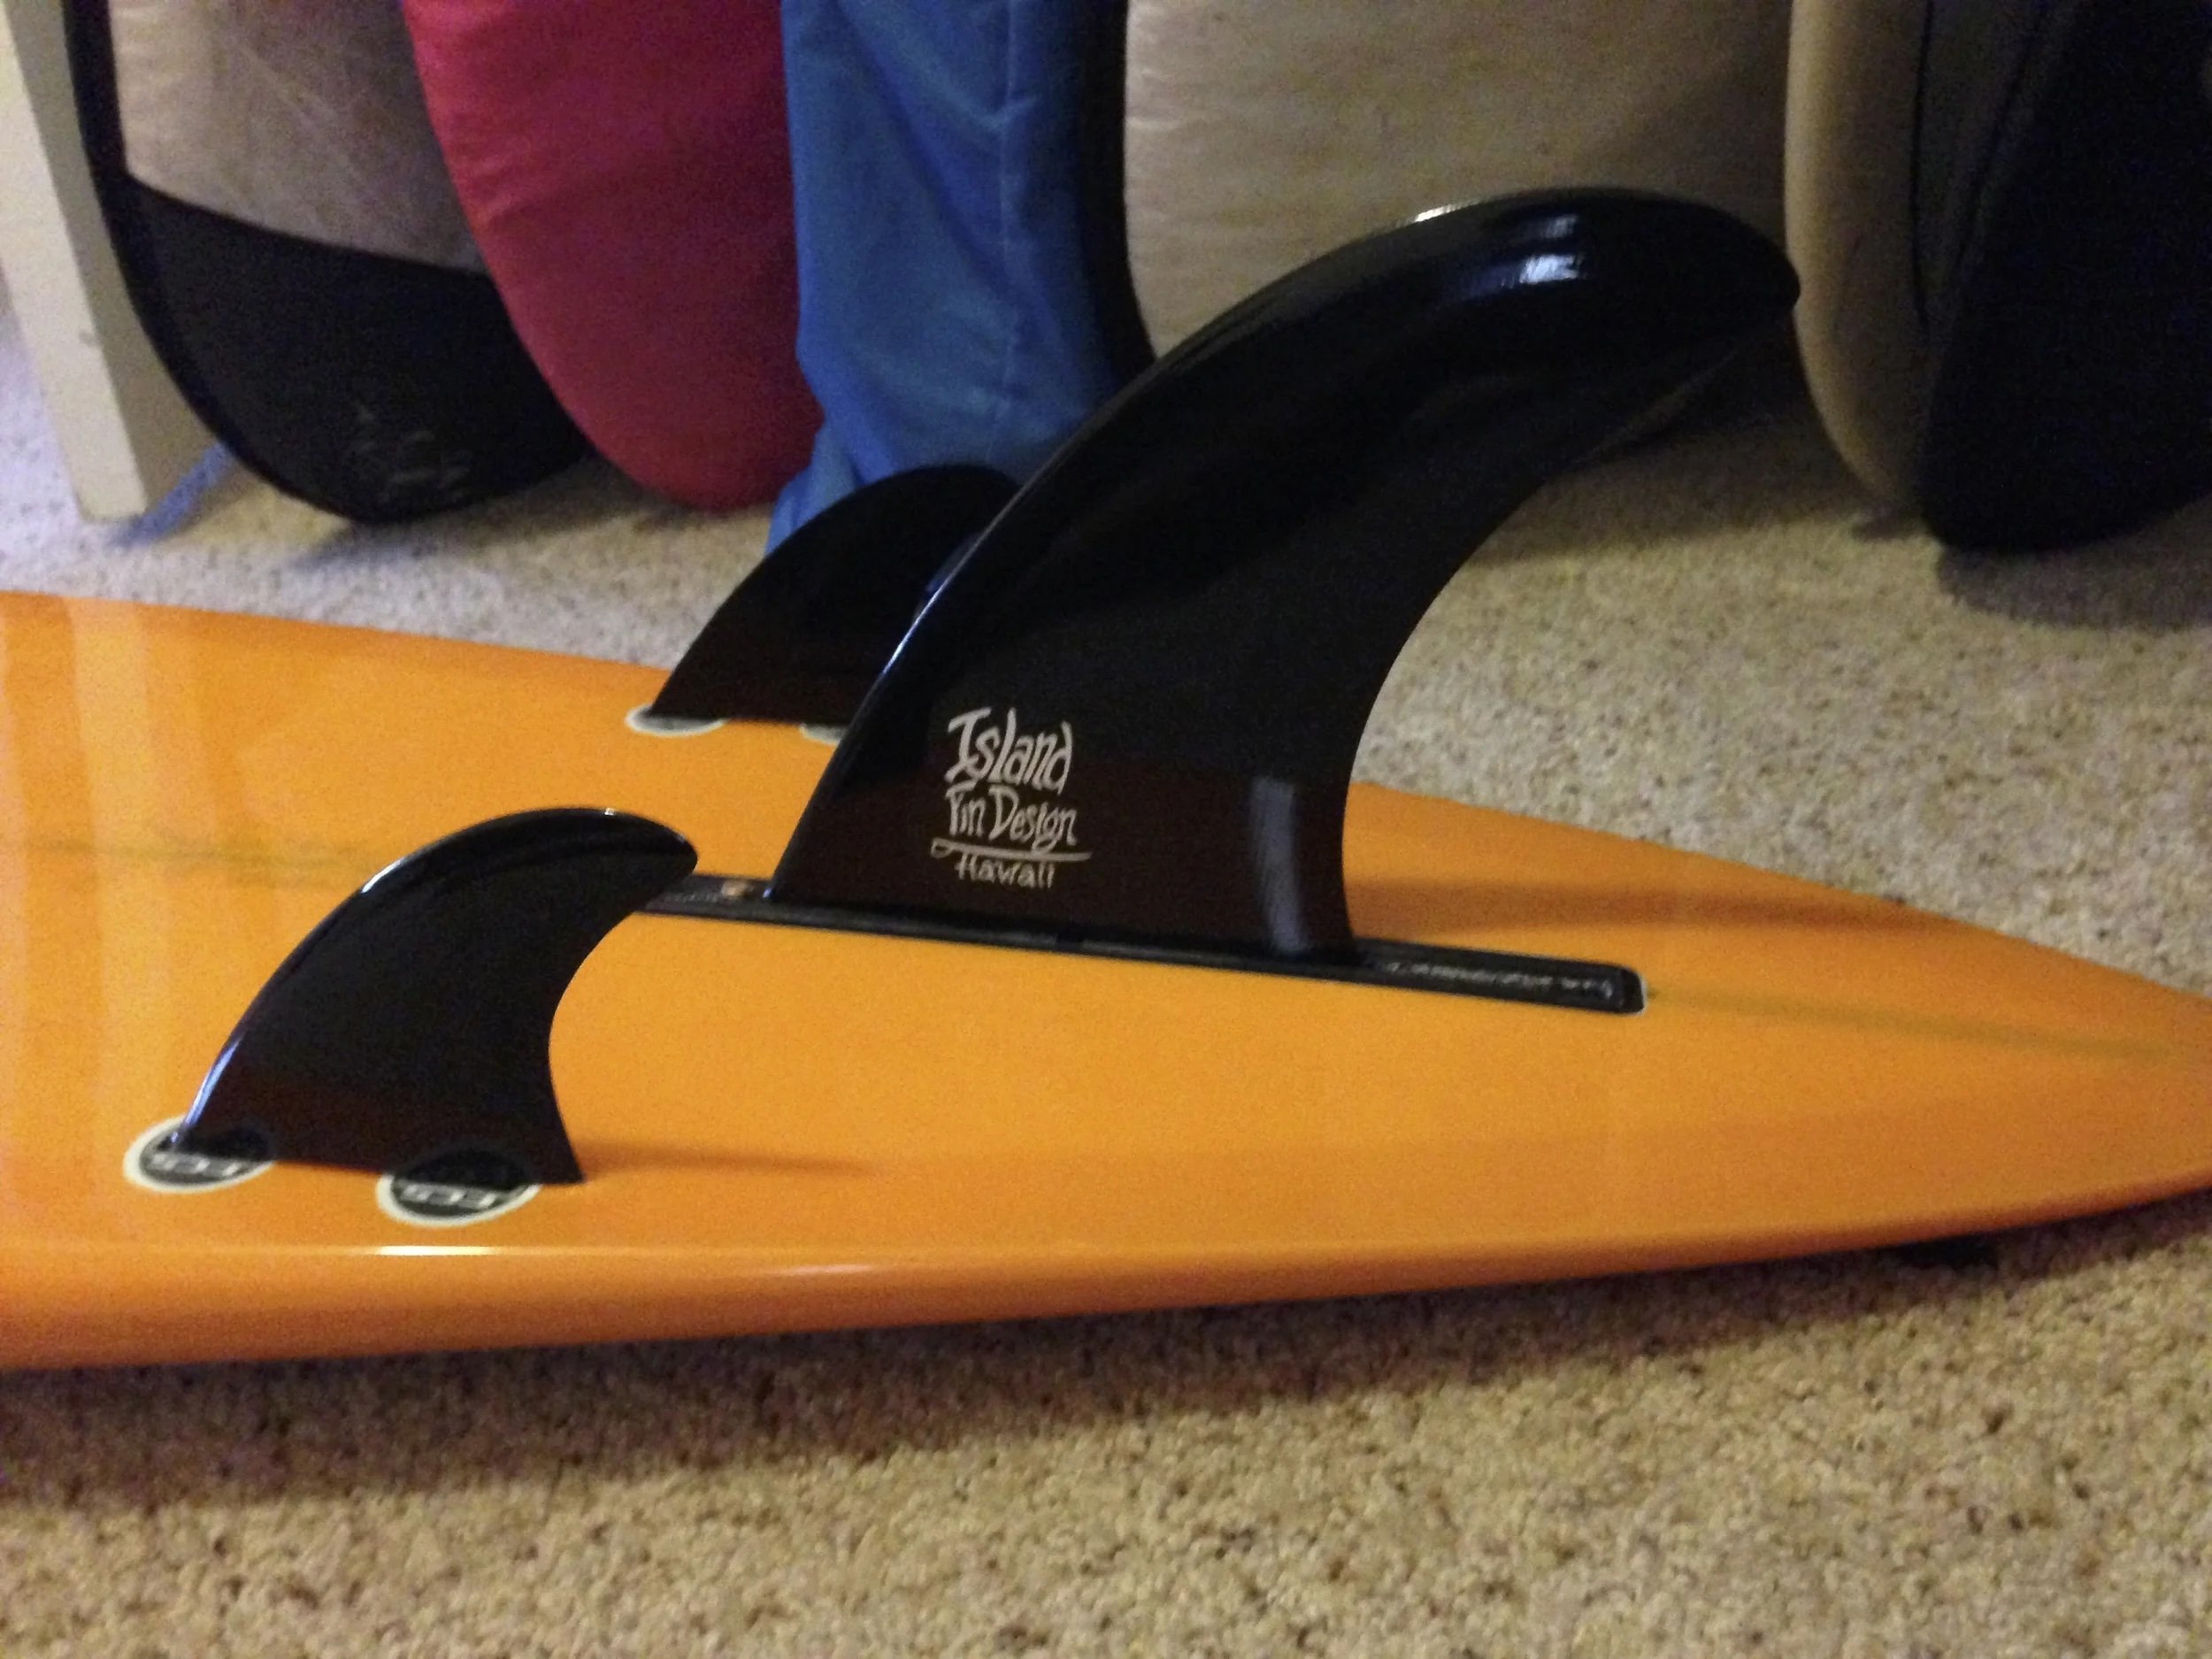
Futures
Futures uses a single-slot system — the entire base of the fin slides into one continuous box and is secured with a single screw. It's a simpler design, stronger connection, and in my experience considerably more reliable than FCS.
I've never lost a Futures fin. Ever.
Even when I’ve dragged fins across a shallow reef, the fins usually stay in the box — even if the box doesn’t stay in the board lol.
If you're starting fresh with a fin quiver, just save yourself the headache and go Futures. It will probably save you some money in the long run too.
Fins I Recommend
The following are the fins I keep coming back to — both in my own quiver and when I'm helping customers figure out what to get for their new board. This isn't an exhaustive list. But these are templates I've tested extensively and can vouch for, organized by configuration.
Thrusters
For most surfers riding a thruster, these two fin templates are going to cover the majority of what you'll ever need.
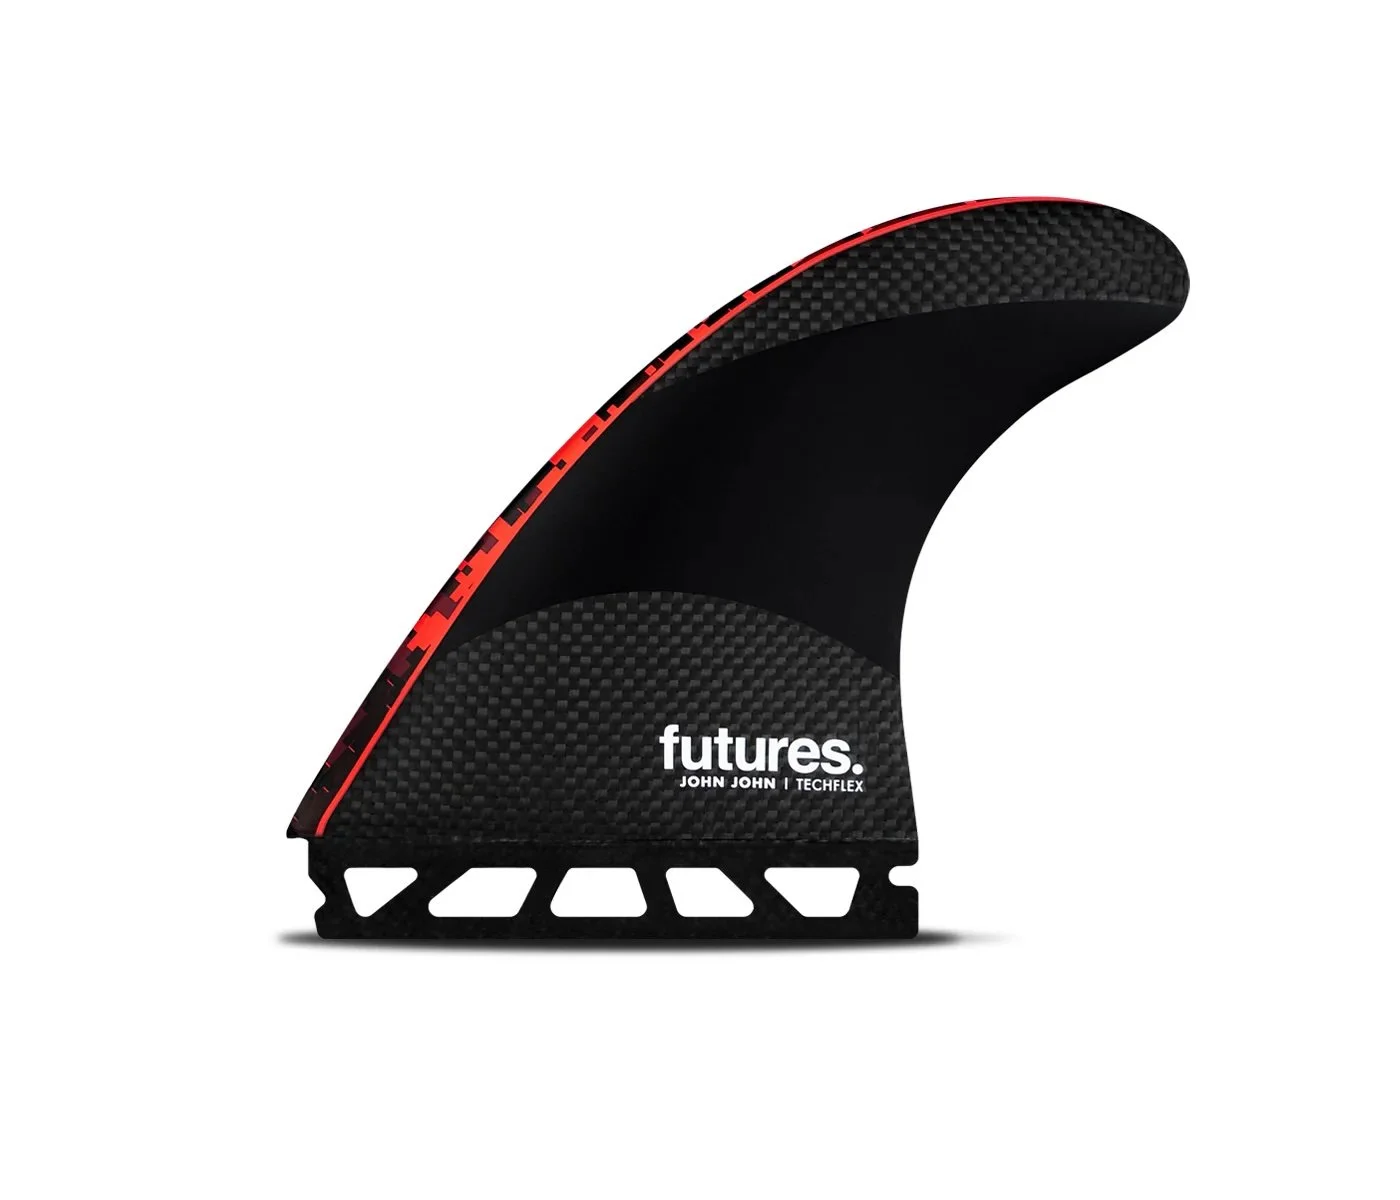
This is a neutral template — not strongly raked, not strongly upright — which is exactly what makes it so versatile. It works in a wide range of boards and a wide range of waves, and it's what John John Florence rode to back-to-back World Championships. If you're only going to own one thruster set, this is the one I'd start with. Size up or down based on your weight.
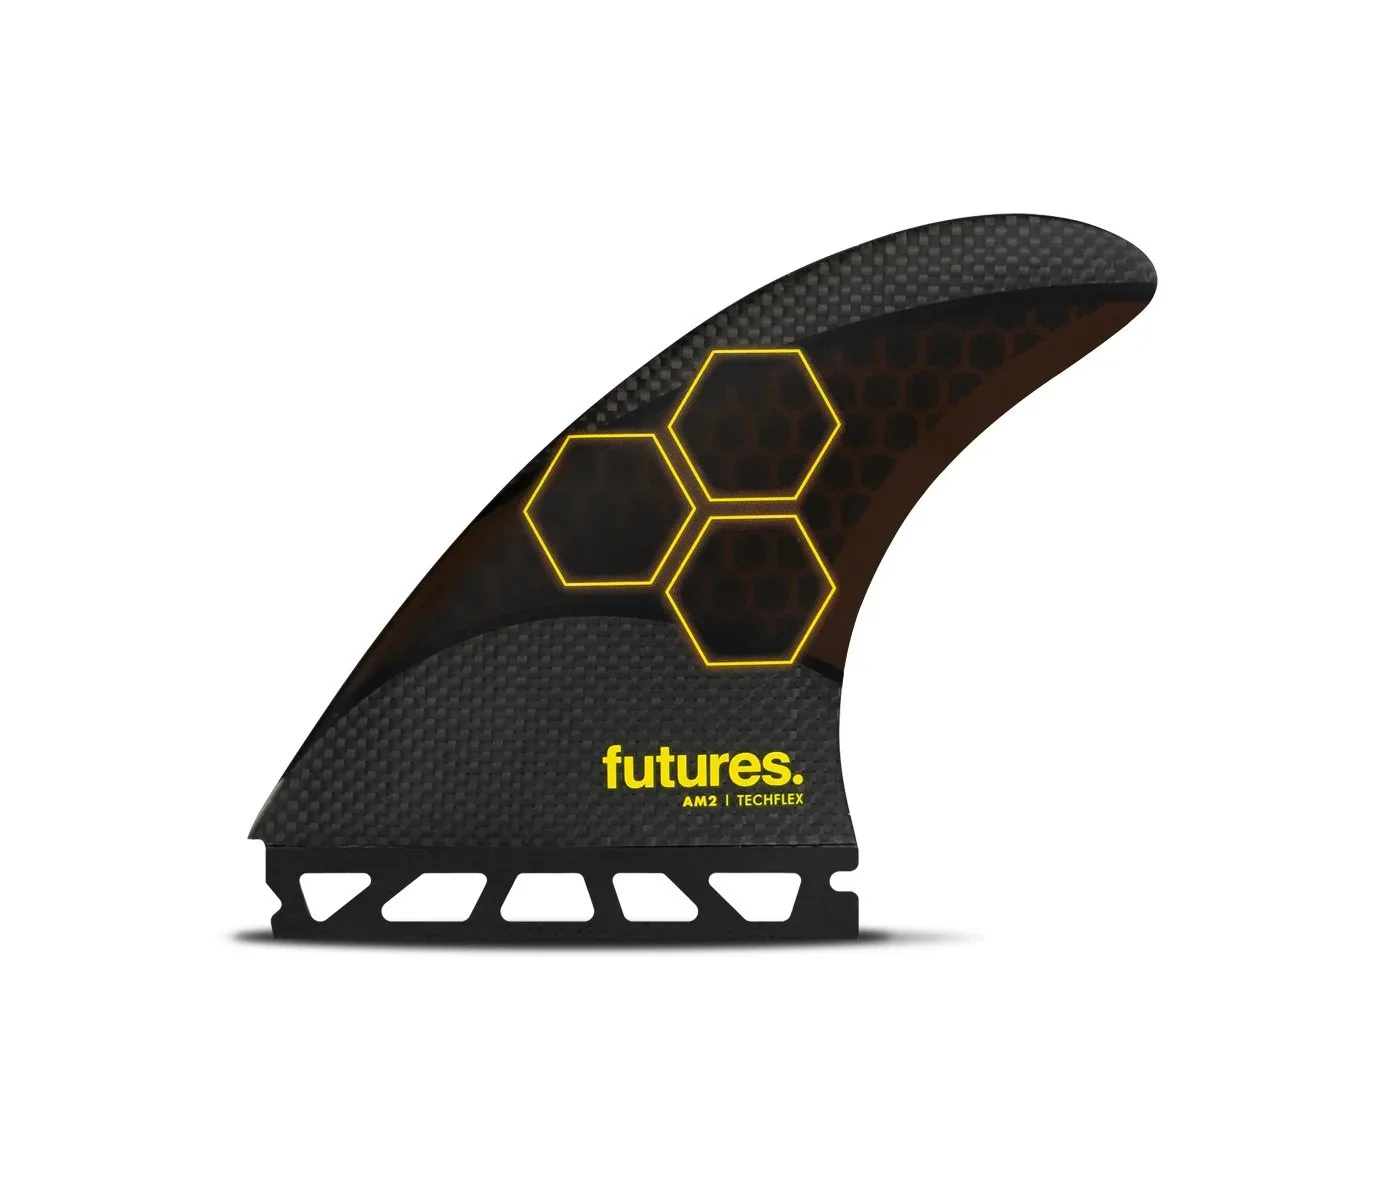
The template is designed by legendary Channel Islands shaper Al Merrick and has been around (and imitated) forever. These are rake template fins — more drawn out than the JJFs, and ideal for boards with an aggressive kick in the tail. The AM1 is the medium and the AM2 is the large, so pick based on your weight.
Quads
I don’t ride a lot of quads these days, unless I’m surfing a beach break, it’s barreling, and I just need to get down the line as fast as possible. But these are the sets I usually reach for.
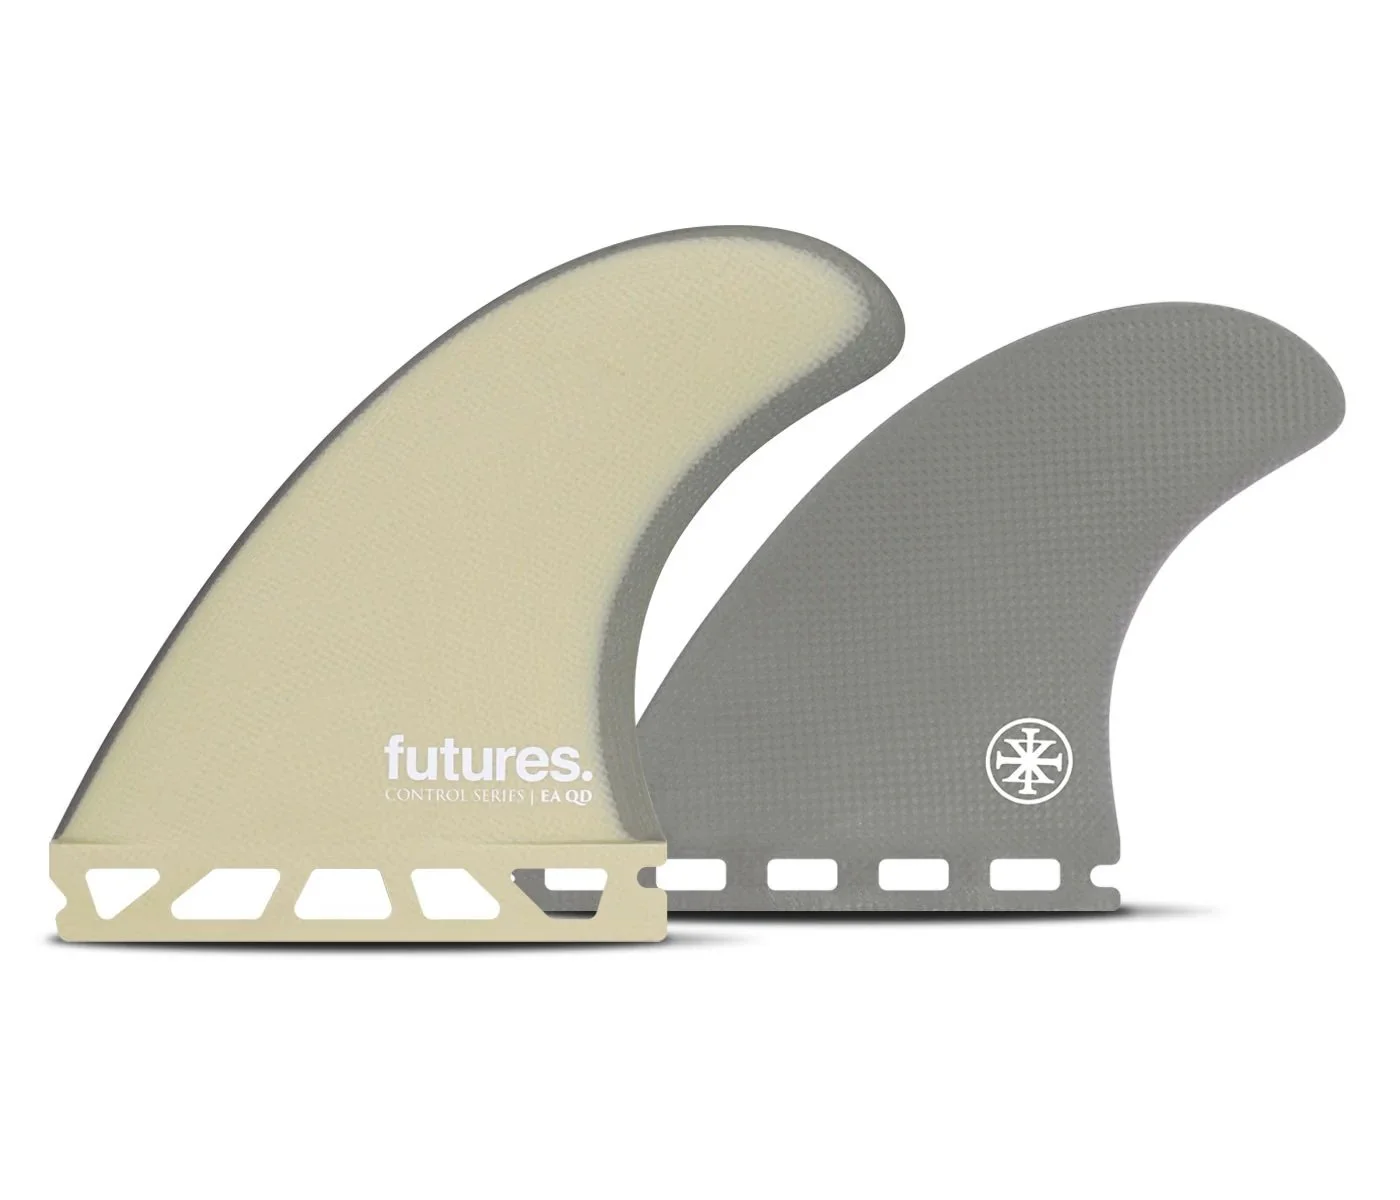
This template is designed by legendary Hawaiian shaper Eric Arakawa. Truth be told, I only use the quad rears off this set and run them with the JJF Techflex front fins.
The EA’s are a medium template, which are too small for my Shrek-sized body. But the rears are larger than most and they suit my height and weight well when paired this way.
That said, I can’t recommend this combo enough. And, it’s a great reminder that sometimes the best combination of fins is a mix and match across different sets. Don’t be afraid to experiment!
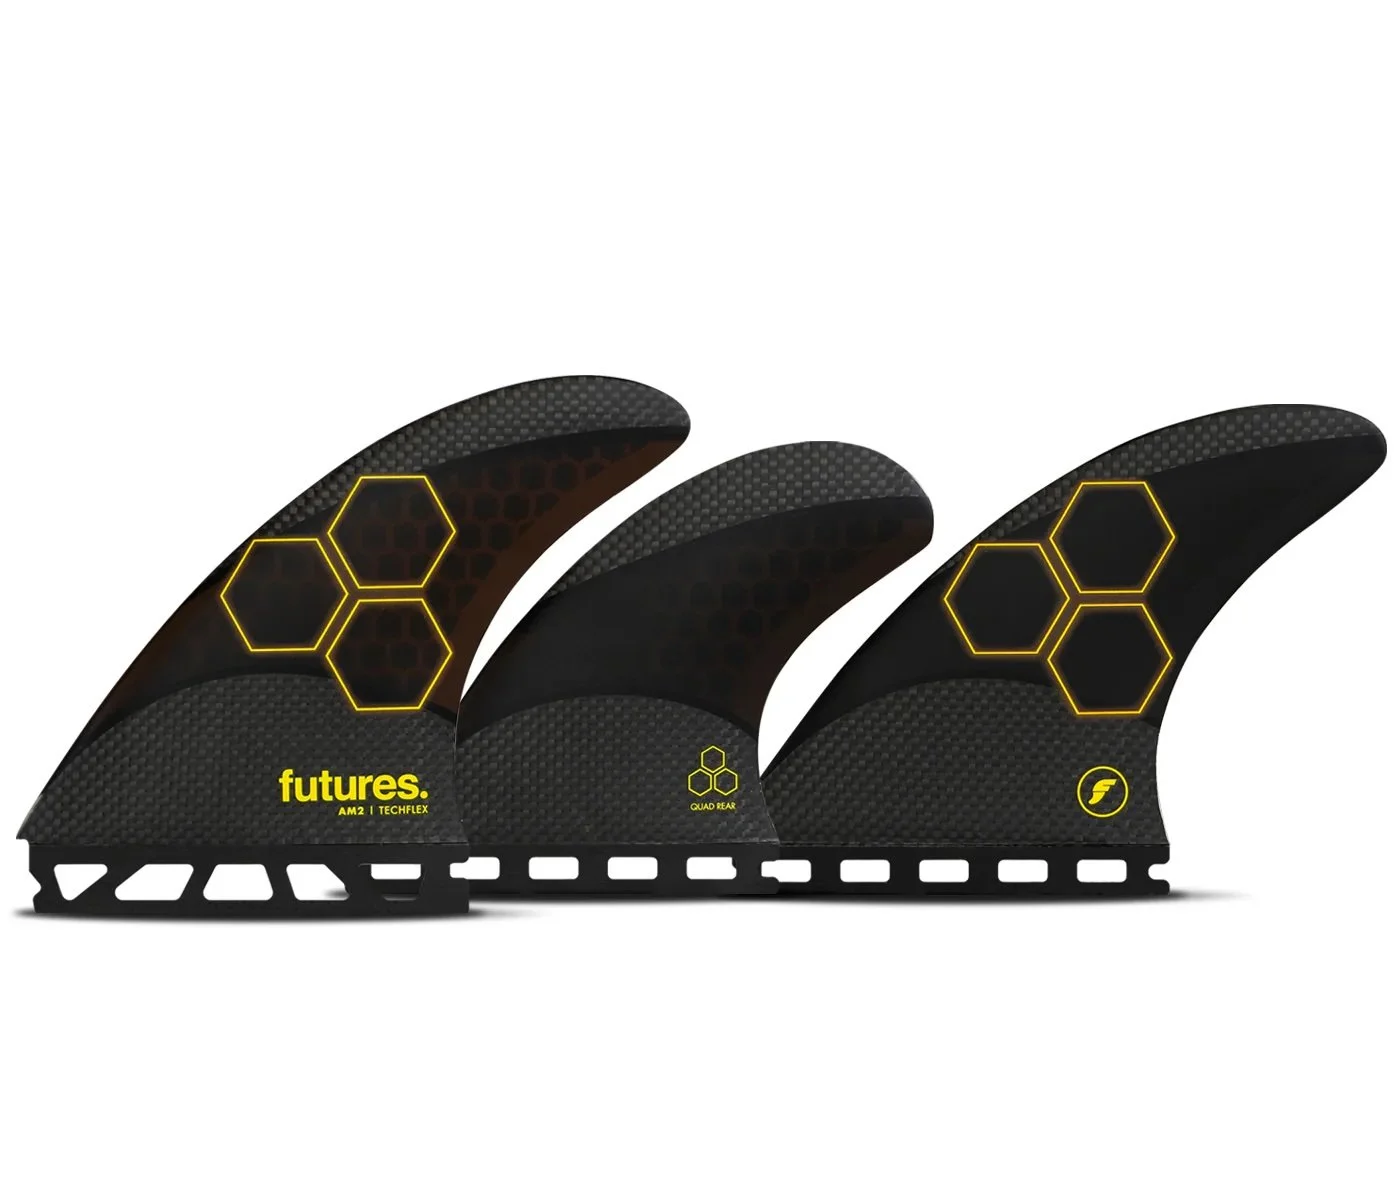
2. AM Quads
I also have and ride the AM quad trailers with the AM2 front fins in a number of boards. I find that this set up works great, but only for boards that have a fairly aggressive tail kick. I like them in my stepups.
Most of my own board designs don’t have enough rocker to warrant putting these in, so I wouldn’t recommend them if you’re getting a board from me. But, they’re great to have on hand because they match up perfectly with the AM2 fronts and are super super drivey in the right board.
Note: You have to buy these as part of a 5-fin set.
Keels
I have a lot of keel fins. Probably more than any other type of fin on this list (what can I say, I learned to surf in San Diego). Here are the ones I reach for most often.
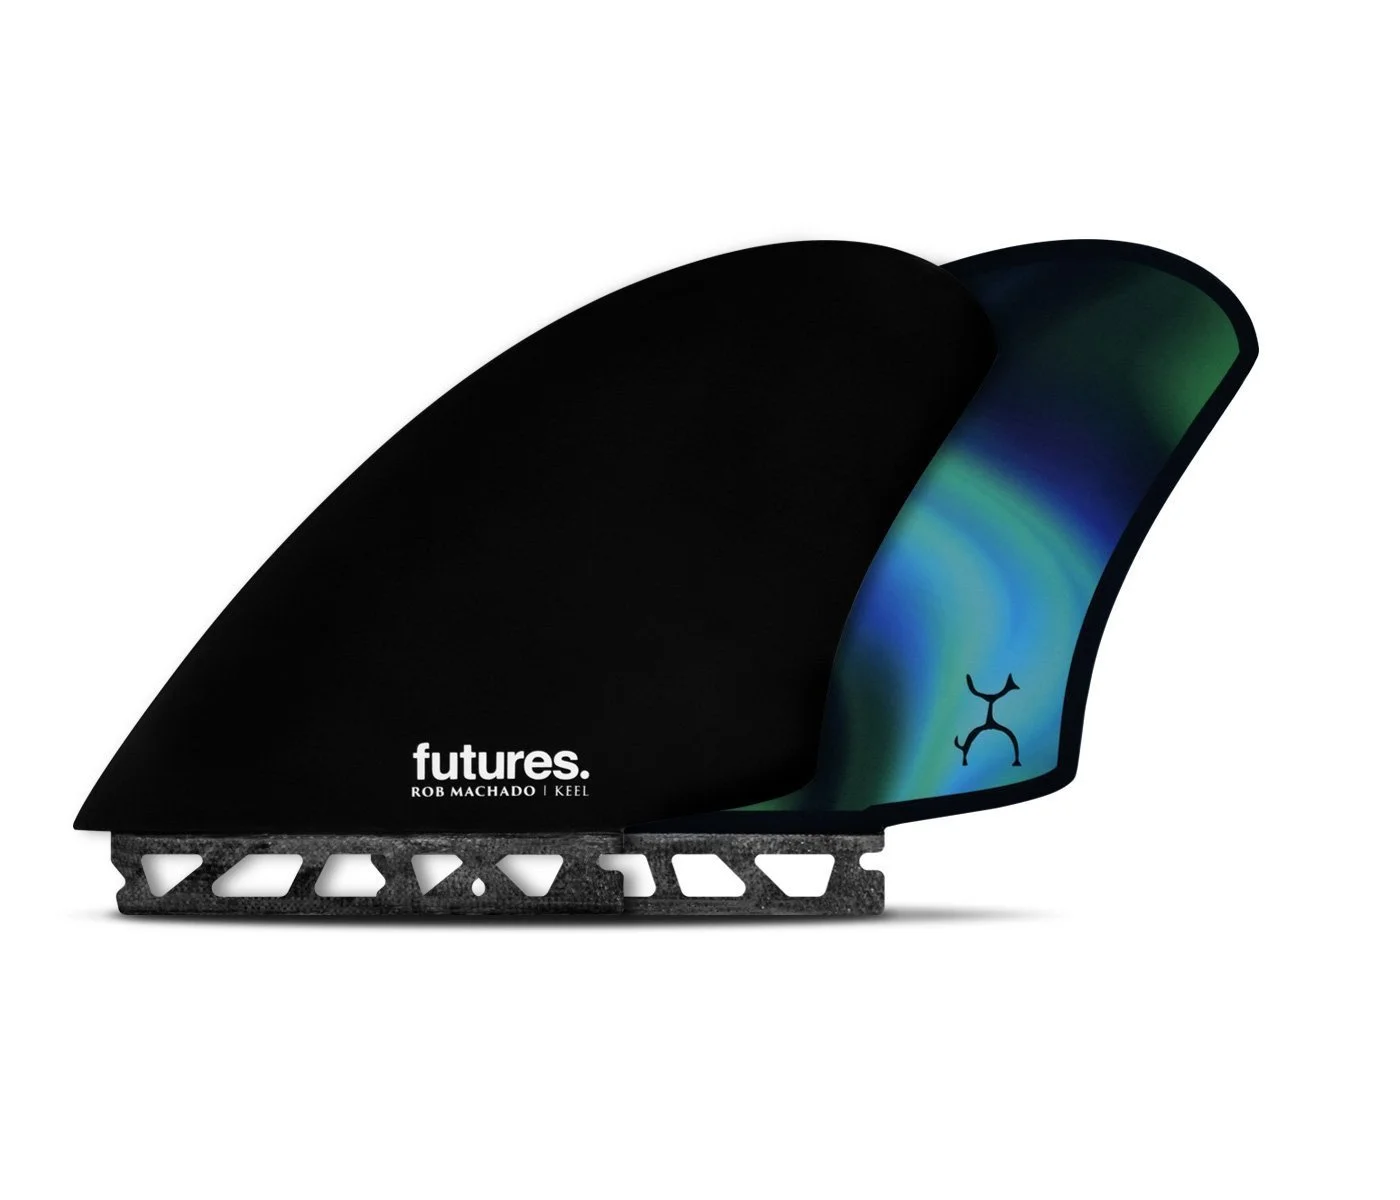
For fish and twin fin boards, I keep coming back to the Rob Machado Keels.
What I like about them is that they give you everything a keel fin should — drive down the line, that locked-in feeling through speed sections — but they pivot more than most keels do, which makes them more versatile than your average keel template.
I have the original version Rob released with Futures, but they are only available through Firewire these days.
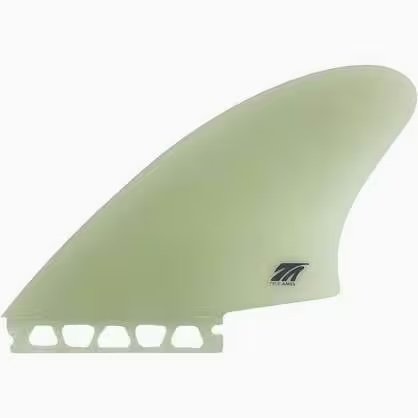
2. Hobie Fish Keels from True Ames
The Hobie Keels are another template I reach for regularly, particularly in certain boards where I want something a little more classic and drivey. These are an industry standard for a reason — wide base, sweeping rake, excellent speed down the line. If the Machados feel a little too skatey for a particular board, the Hobies tend to dial things back in.
Single Fins
Single fin selection gets more personal than anything else in this article, because the range of templates is enormous and how they feel is highly dependent on the board you put them in. That said, there are three I'd recommend as reliable starting points for most boards.
1. NVS Mako
The NVS Mako template is my first choice for any single fin application — mid-lengths, eggs, performance singles. It's a versatile, high performance template that works across a broad range of conditions and board types.
I have yet to find a board that isn’t instantly magic the moment I put this fin in it. It’s the secret sauce that makes my Ceylon Single and Egg models go.

The Skip Frye from True Ames is another template worth having in your quiver, particularly for rounder, fuller hull designs. It's efficient enough that you can often size down from what you'd normally ride, and the volan construction gives it a flex pattern through the body of the fin that a lot of surfers really connect with.
This is the fin I recommend most frequently after the Mako, and a lot of my customers like this template in my Thor’s Hammer model.
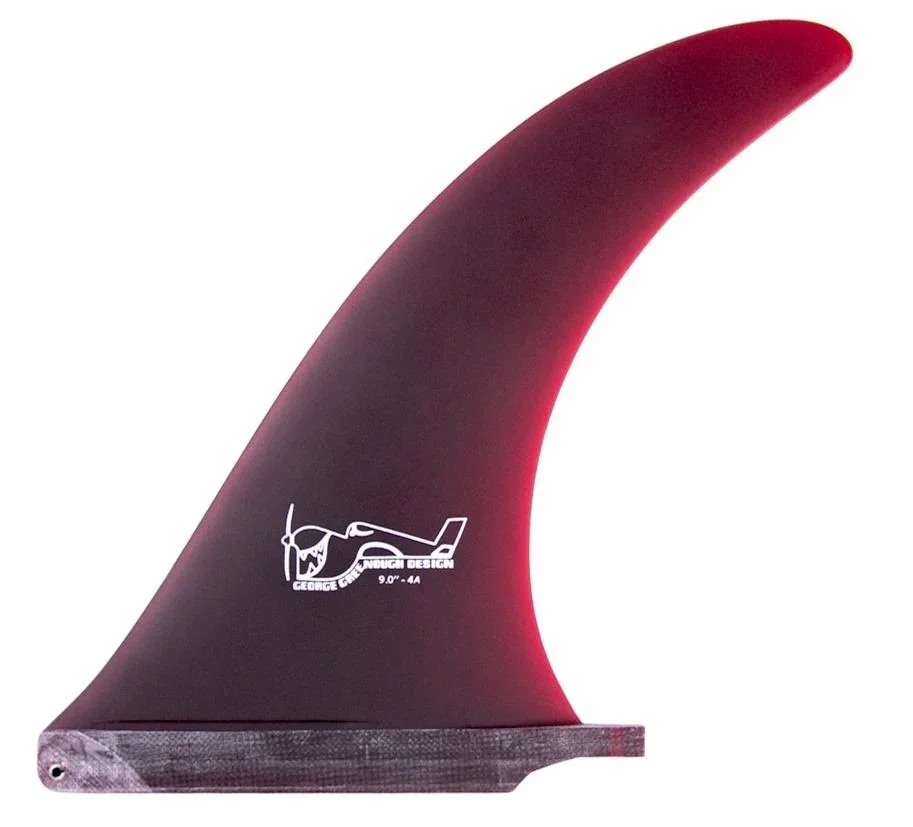
3. Greenough 4-A from True Ames
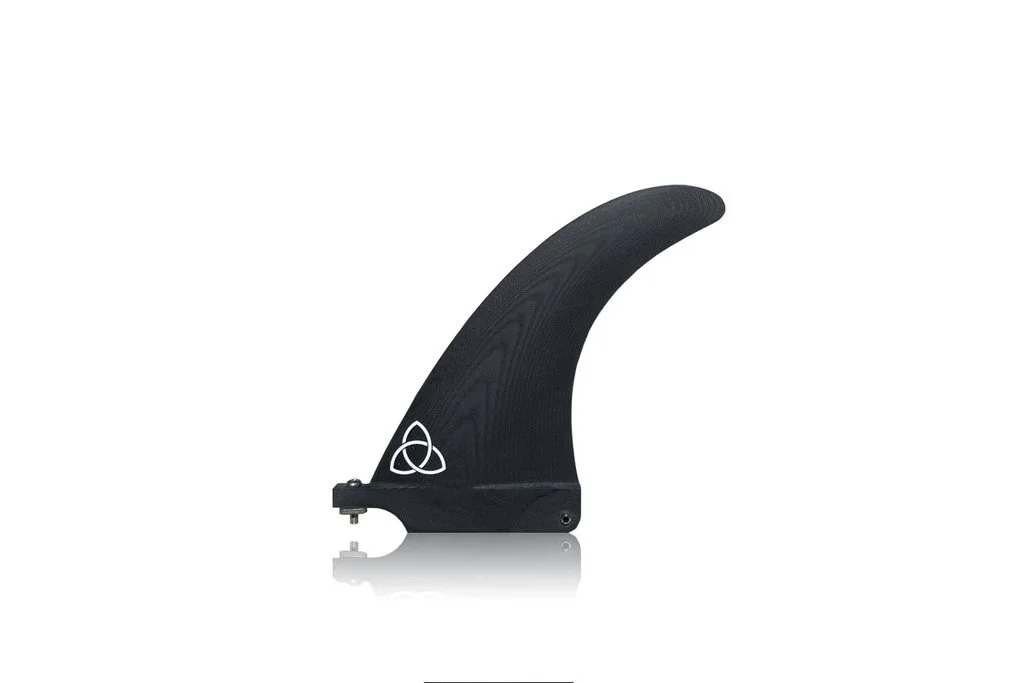
If you're new to single fins and want one template that works in virtually everything, it's hard to go wrong with the Greenough 4-A from True Ames. It's been the most popular single fin in the world for close to 40 years, and there's a reason for that: it works.
Full base for drive, tapering tip for responsiveness, balanced enough to suit a huge range of boards and surfers.
Start here if you're not sure where to start, you’ll have this fin forever.
Build a Fin Quiver and Experiment
Every board can be magic once you get the right fins in it — you just have to play around to find what works for you.
But you don’t need a big collection or to buy every fin on the wall, you just need a few templates that you know and trust, and can swap into any board.
The fins I’ve listed above are a great starting point if you’re unsure. They’re some of the most bullet proof templates in the world and have been around for a long time.
Start with those, and adjust from there. And don’t be afraid to experiment — some of the best fins I have were bought on a whim, out of sheer curiosity.
At the very least, you learn something that will help you find that feeling you’re after.
Cheers,
Scott