

How much does it cost to build a professional quality surfboard?
At some point, many surfers start to wonder if they could or should just build their own surfboard.
For me, that moment came when I was trying to order a custom from one of the major surfboard labels. I wanted a modified version of one of their stock models — a narrower tail, 5-fin setup instead of twin, a rocker designed for better waves.
But it was going to cost a fair bit extra and the wait was going to be months, which had me thinking: how hard could it actually be to shape it myself?
“I could probably figure this out for a fraction of what I'd pay for a custom” I thought.
So I did. And what I learned in the process completely changed how I think about what a surfboard is actually worth.
This article is for anyone who's had that same thought. Here's the honest version of the math from someone who DIY’d their own surfboard and kept going.
Surfboard material and tool costs
There are two different processes (and costs associated with them) to consider when you’re trying to calculate the cost of building your own surfboard: shaping and glassing.
I've broken them out separately below, because depending on where you live, you don’t necessarily have to do the glassing yourself (more on this when we get to the glassing section).
These lists account for everything you need — and nothing you don’t. You can shape and glass a professional quality board with what’s on this list.
Also, it’s worth noting that the materials costs will vary depending on the construction you choose (EPS vs PU) — if you haven't thought through that yet, this article breaks down your options and what they mean for how the board actually surfs.
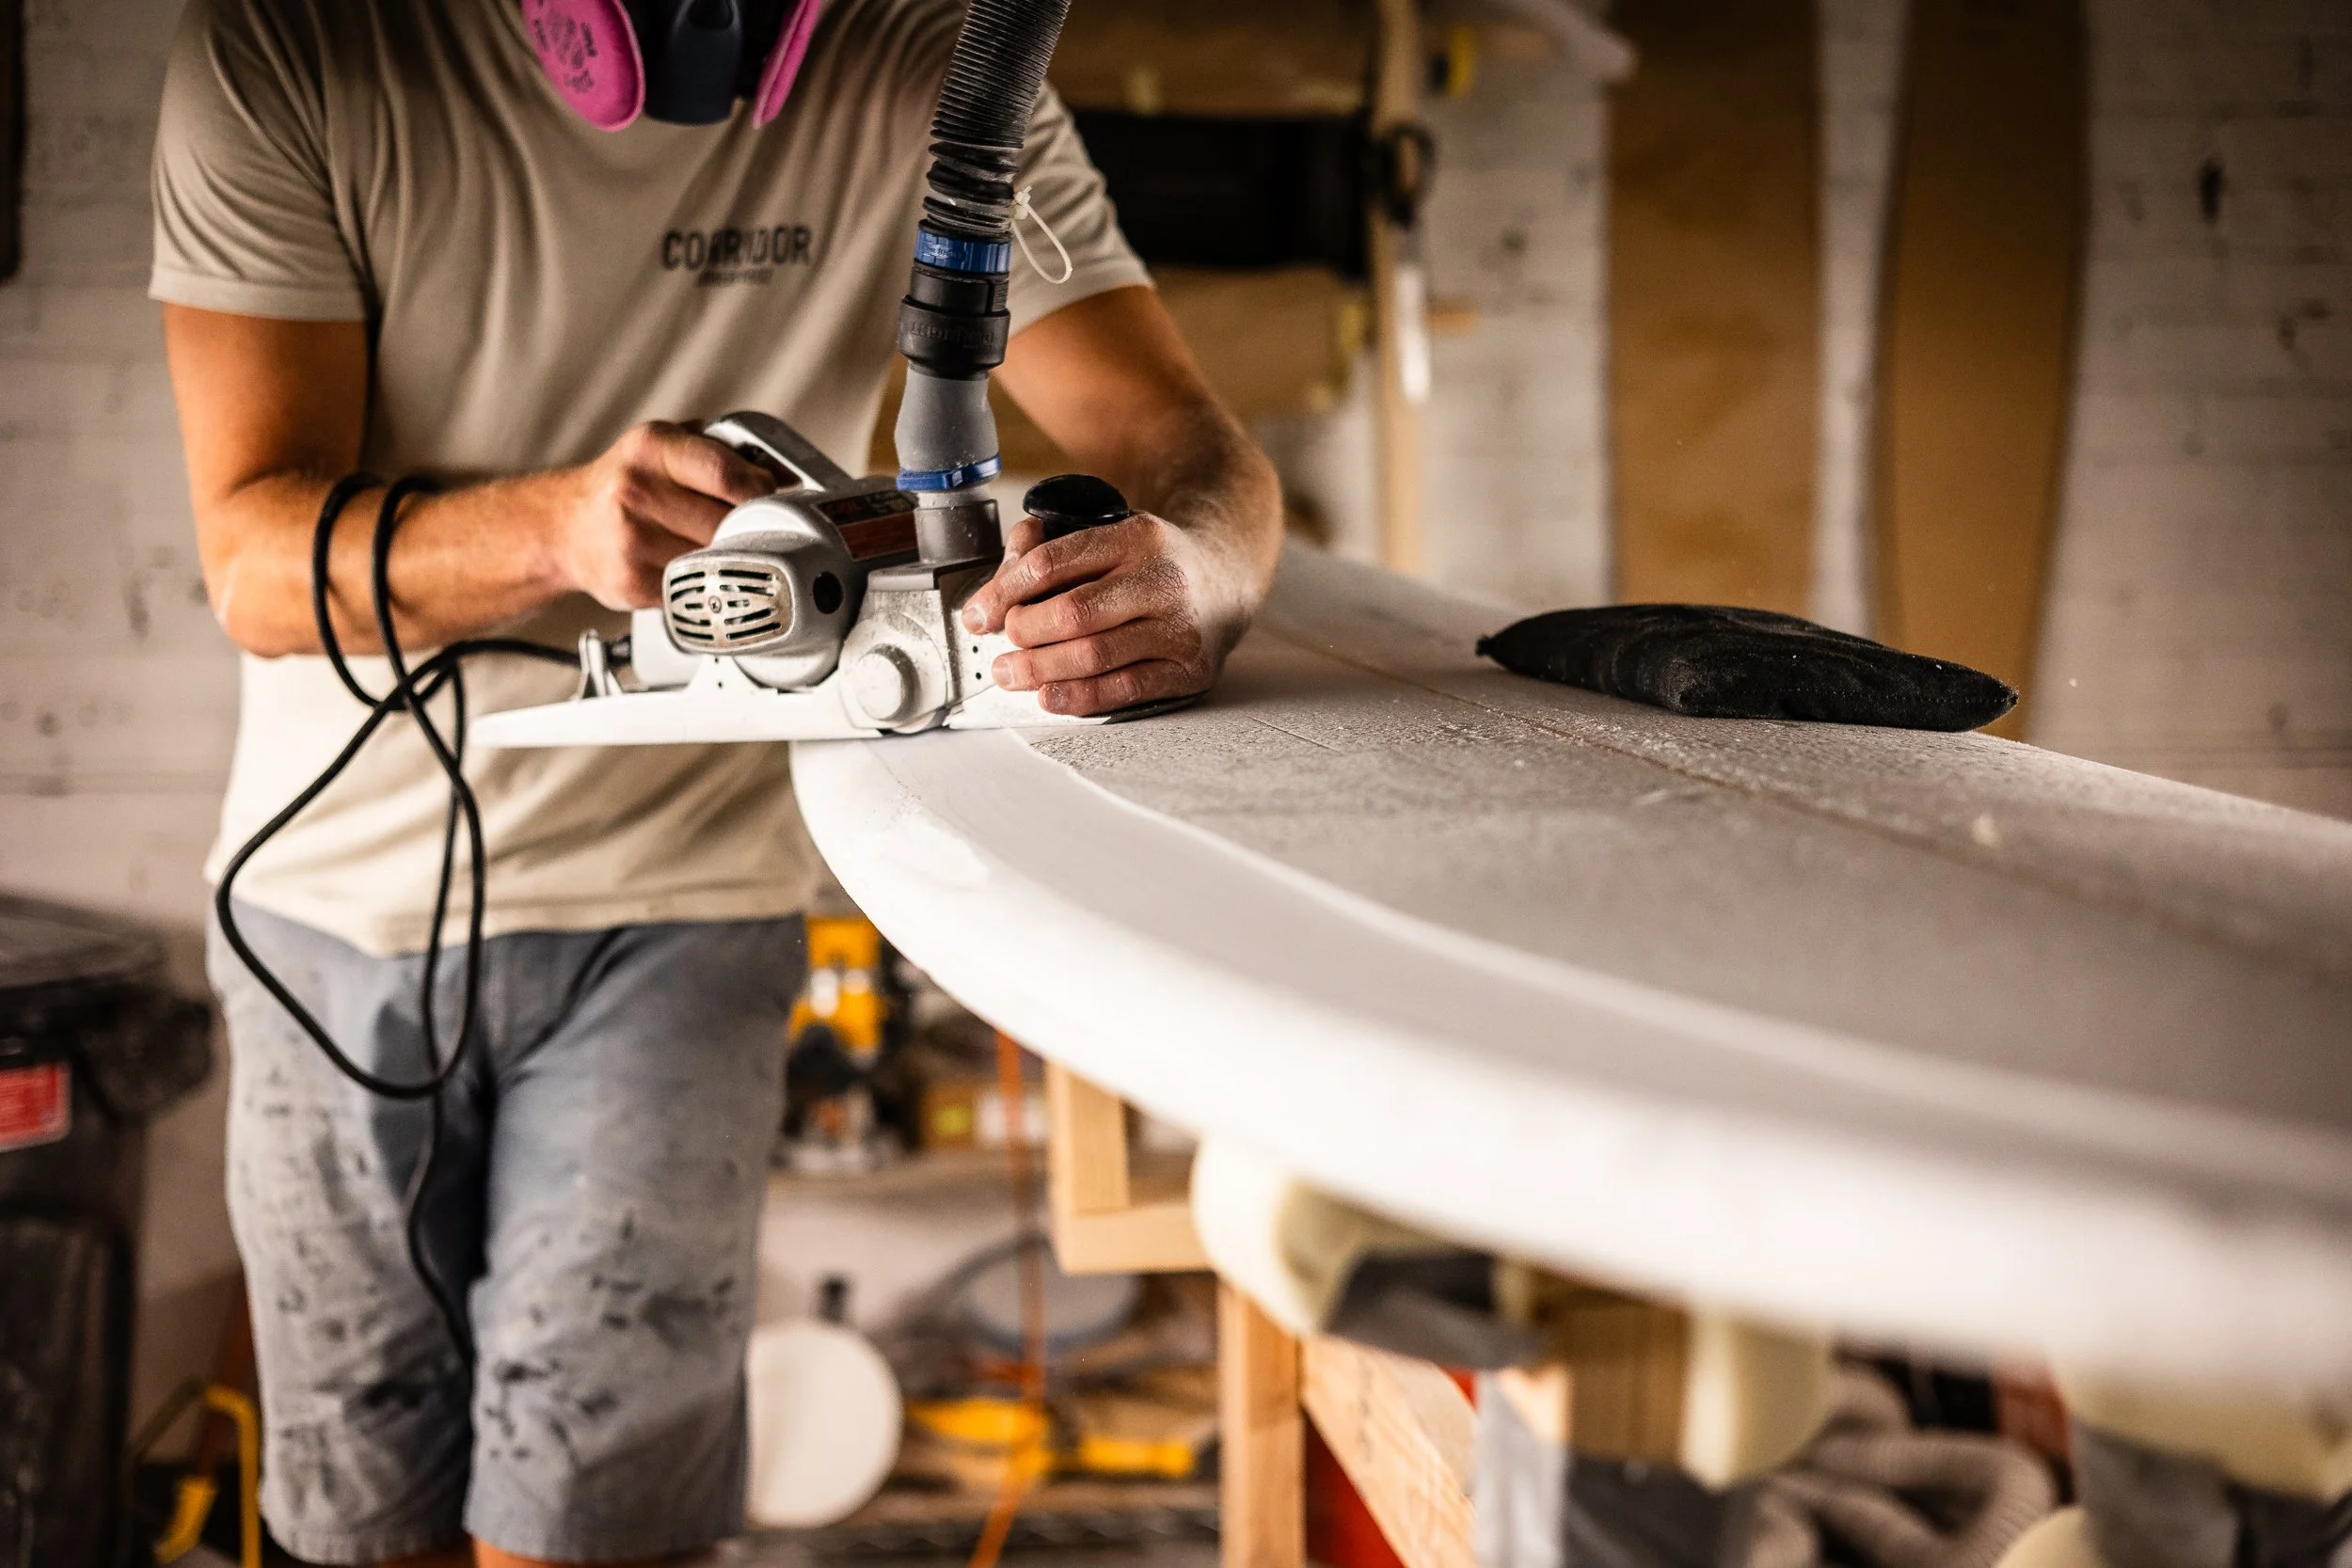
Shaping costs
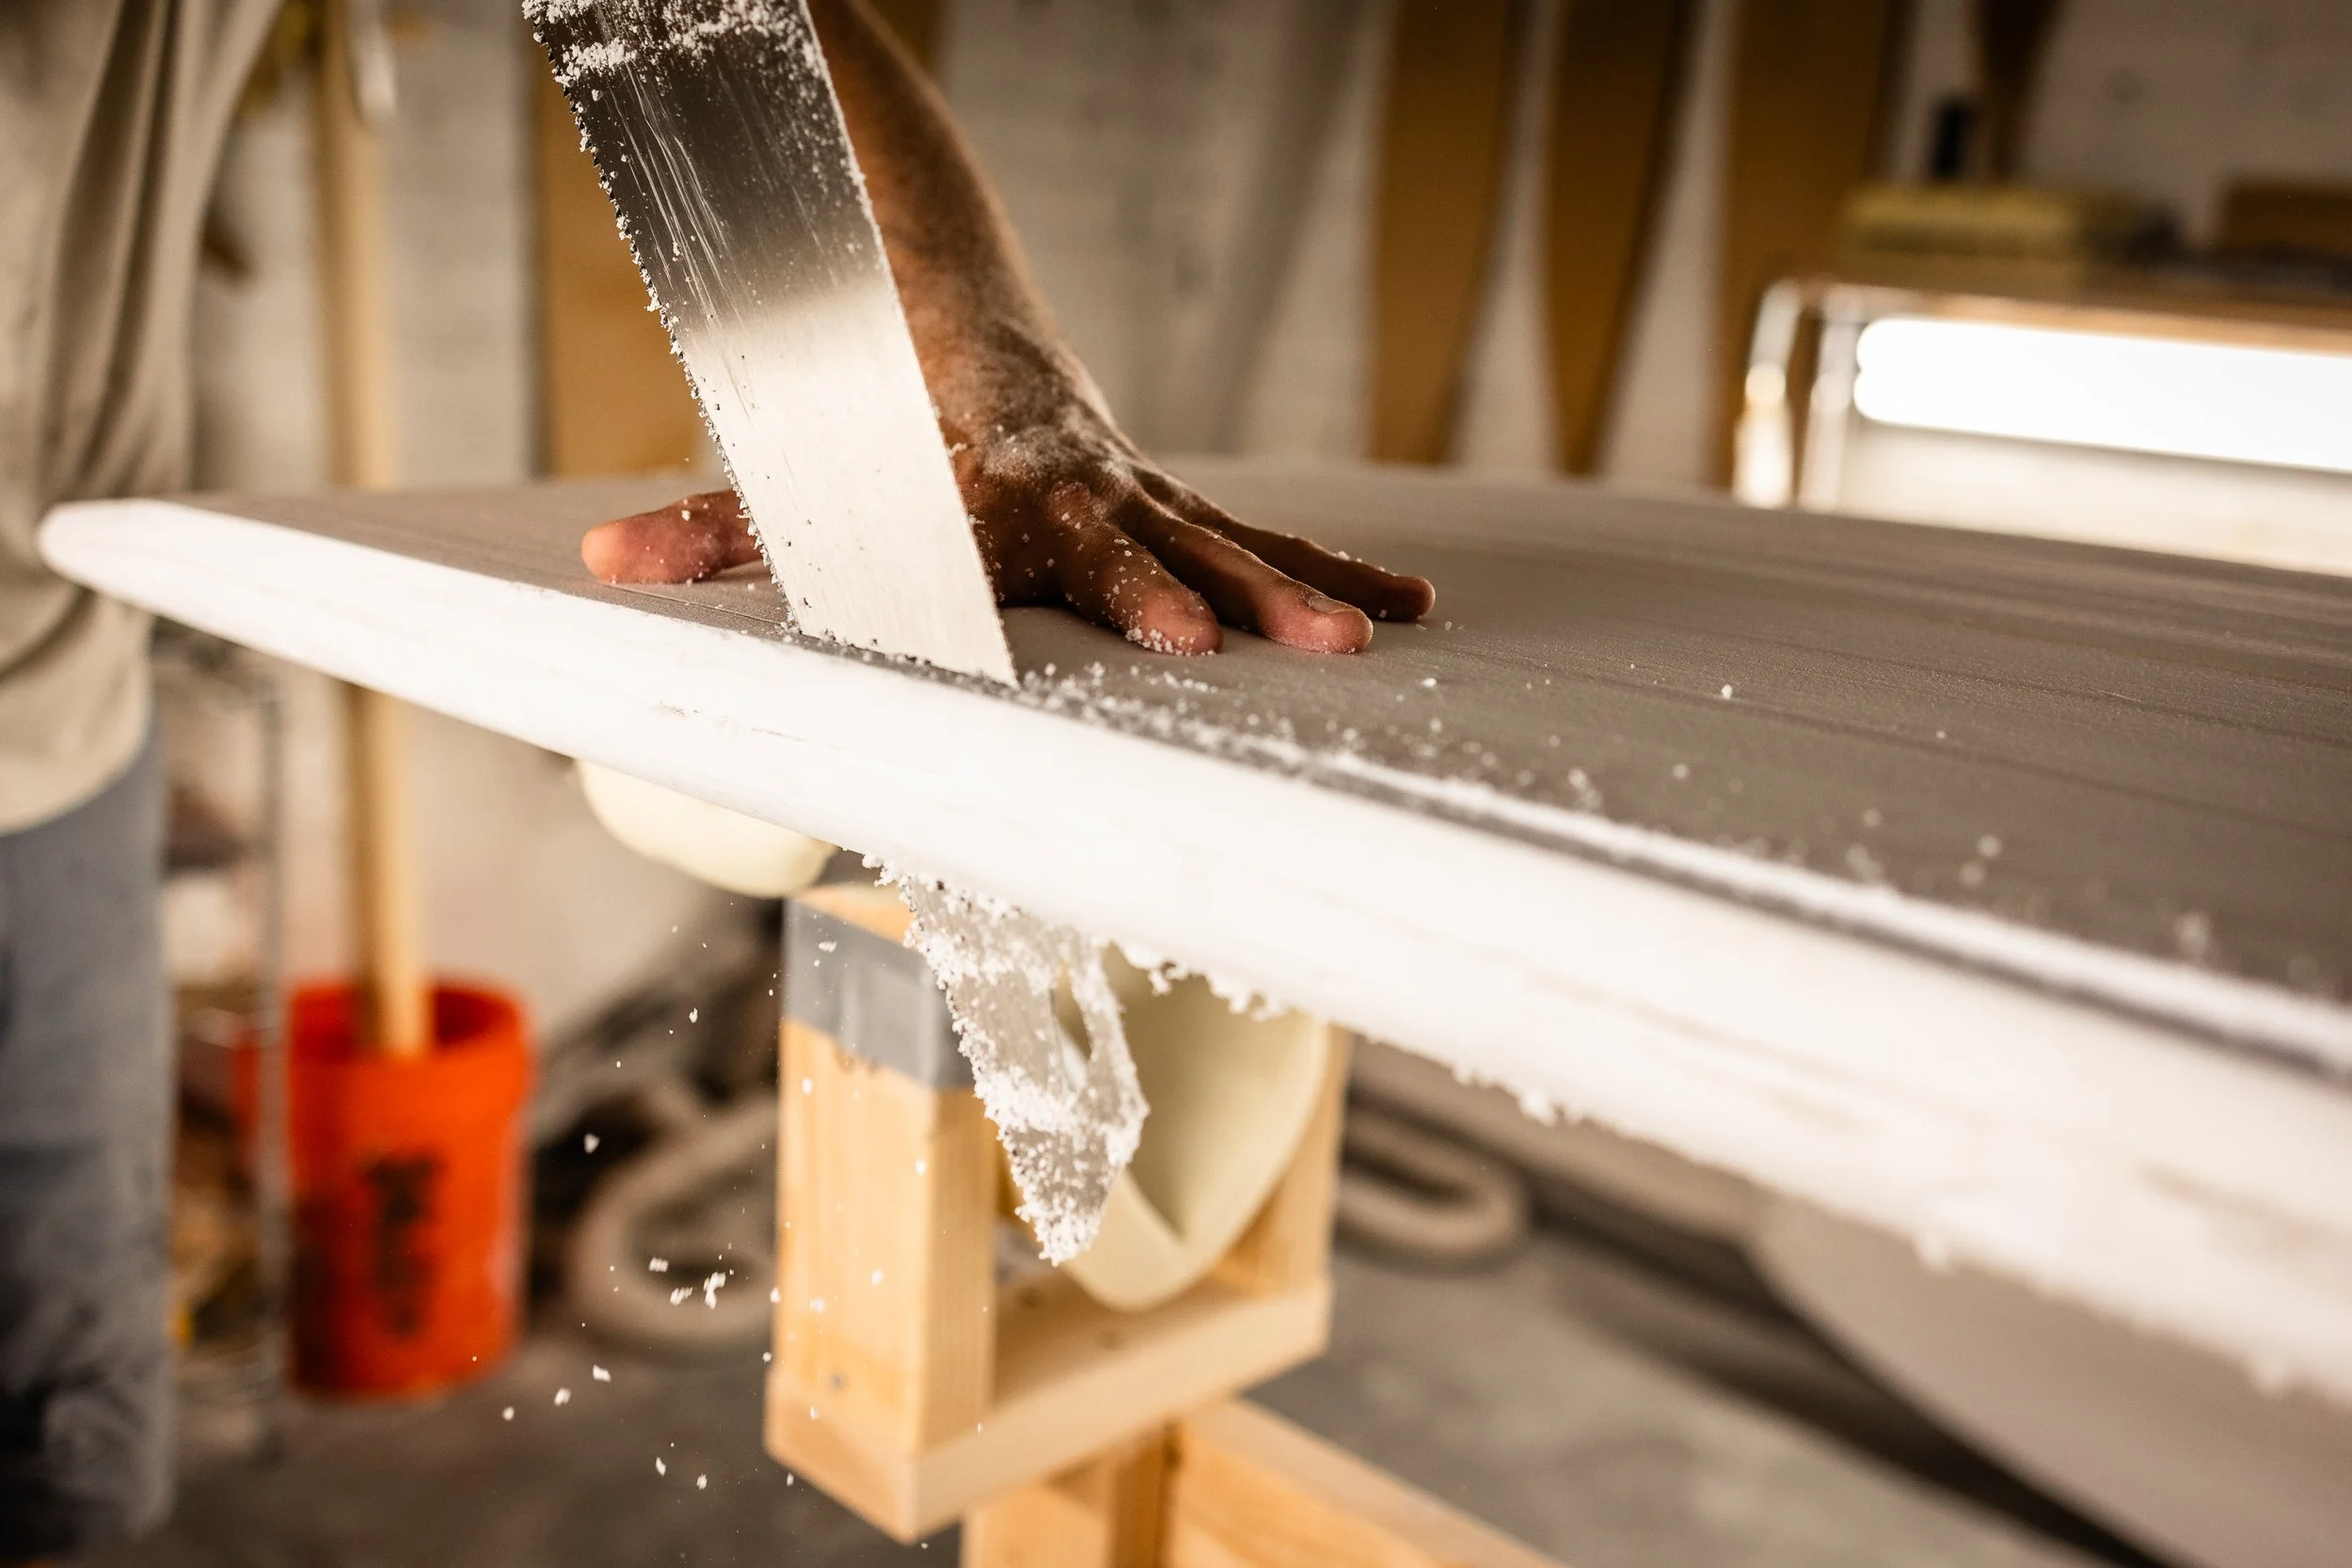
Skinning the blank during the shaping process
For the shaping process, I’m referring to everything that goes into transforming a blank or raw piece of foam into a shaped but unglassed, surfboard.
For this process, you’ll need 1) a blank and 2) a few tools. All of the tools are available at your local hardware/big box store except for one:
WEN electric planer: ~$60
Stanley trim plane: ~$10
Flexpad balsa-backed shaping block: ~$38
Sandpaper (60/120/220 grits): ~$20
Shaping stand (built from 2x4s, buckets, concrete): ~$35
Handsaw (fine tooth): ~$20
N95 dust mask: ~$10
Blank: $75–$200
Your garage: $0 + significant other approval for making a mess
Shaping Total: ~$268.00 – $393.00
This list assumes you can source a blank locally. Shipping blanks is pricey (I need to order at least four blanks to make it worth it where I am in Chicago). Factor in at least $300 for shipping blanks by freight if you can’t source locally.
I order my poly blanks from Foam EZ. Brad and the team are great to work with.
If you want to save some money on shipping and are ok with shaping an EPS board, Greenlight will ship you a single deconstructed blank you can glue up yourself.
Glassing costs
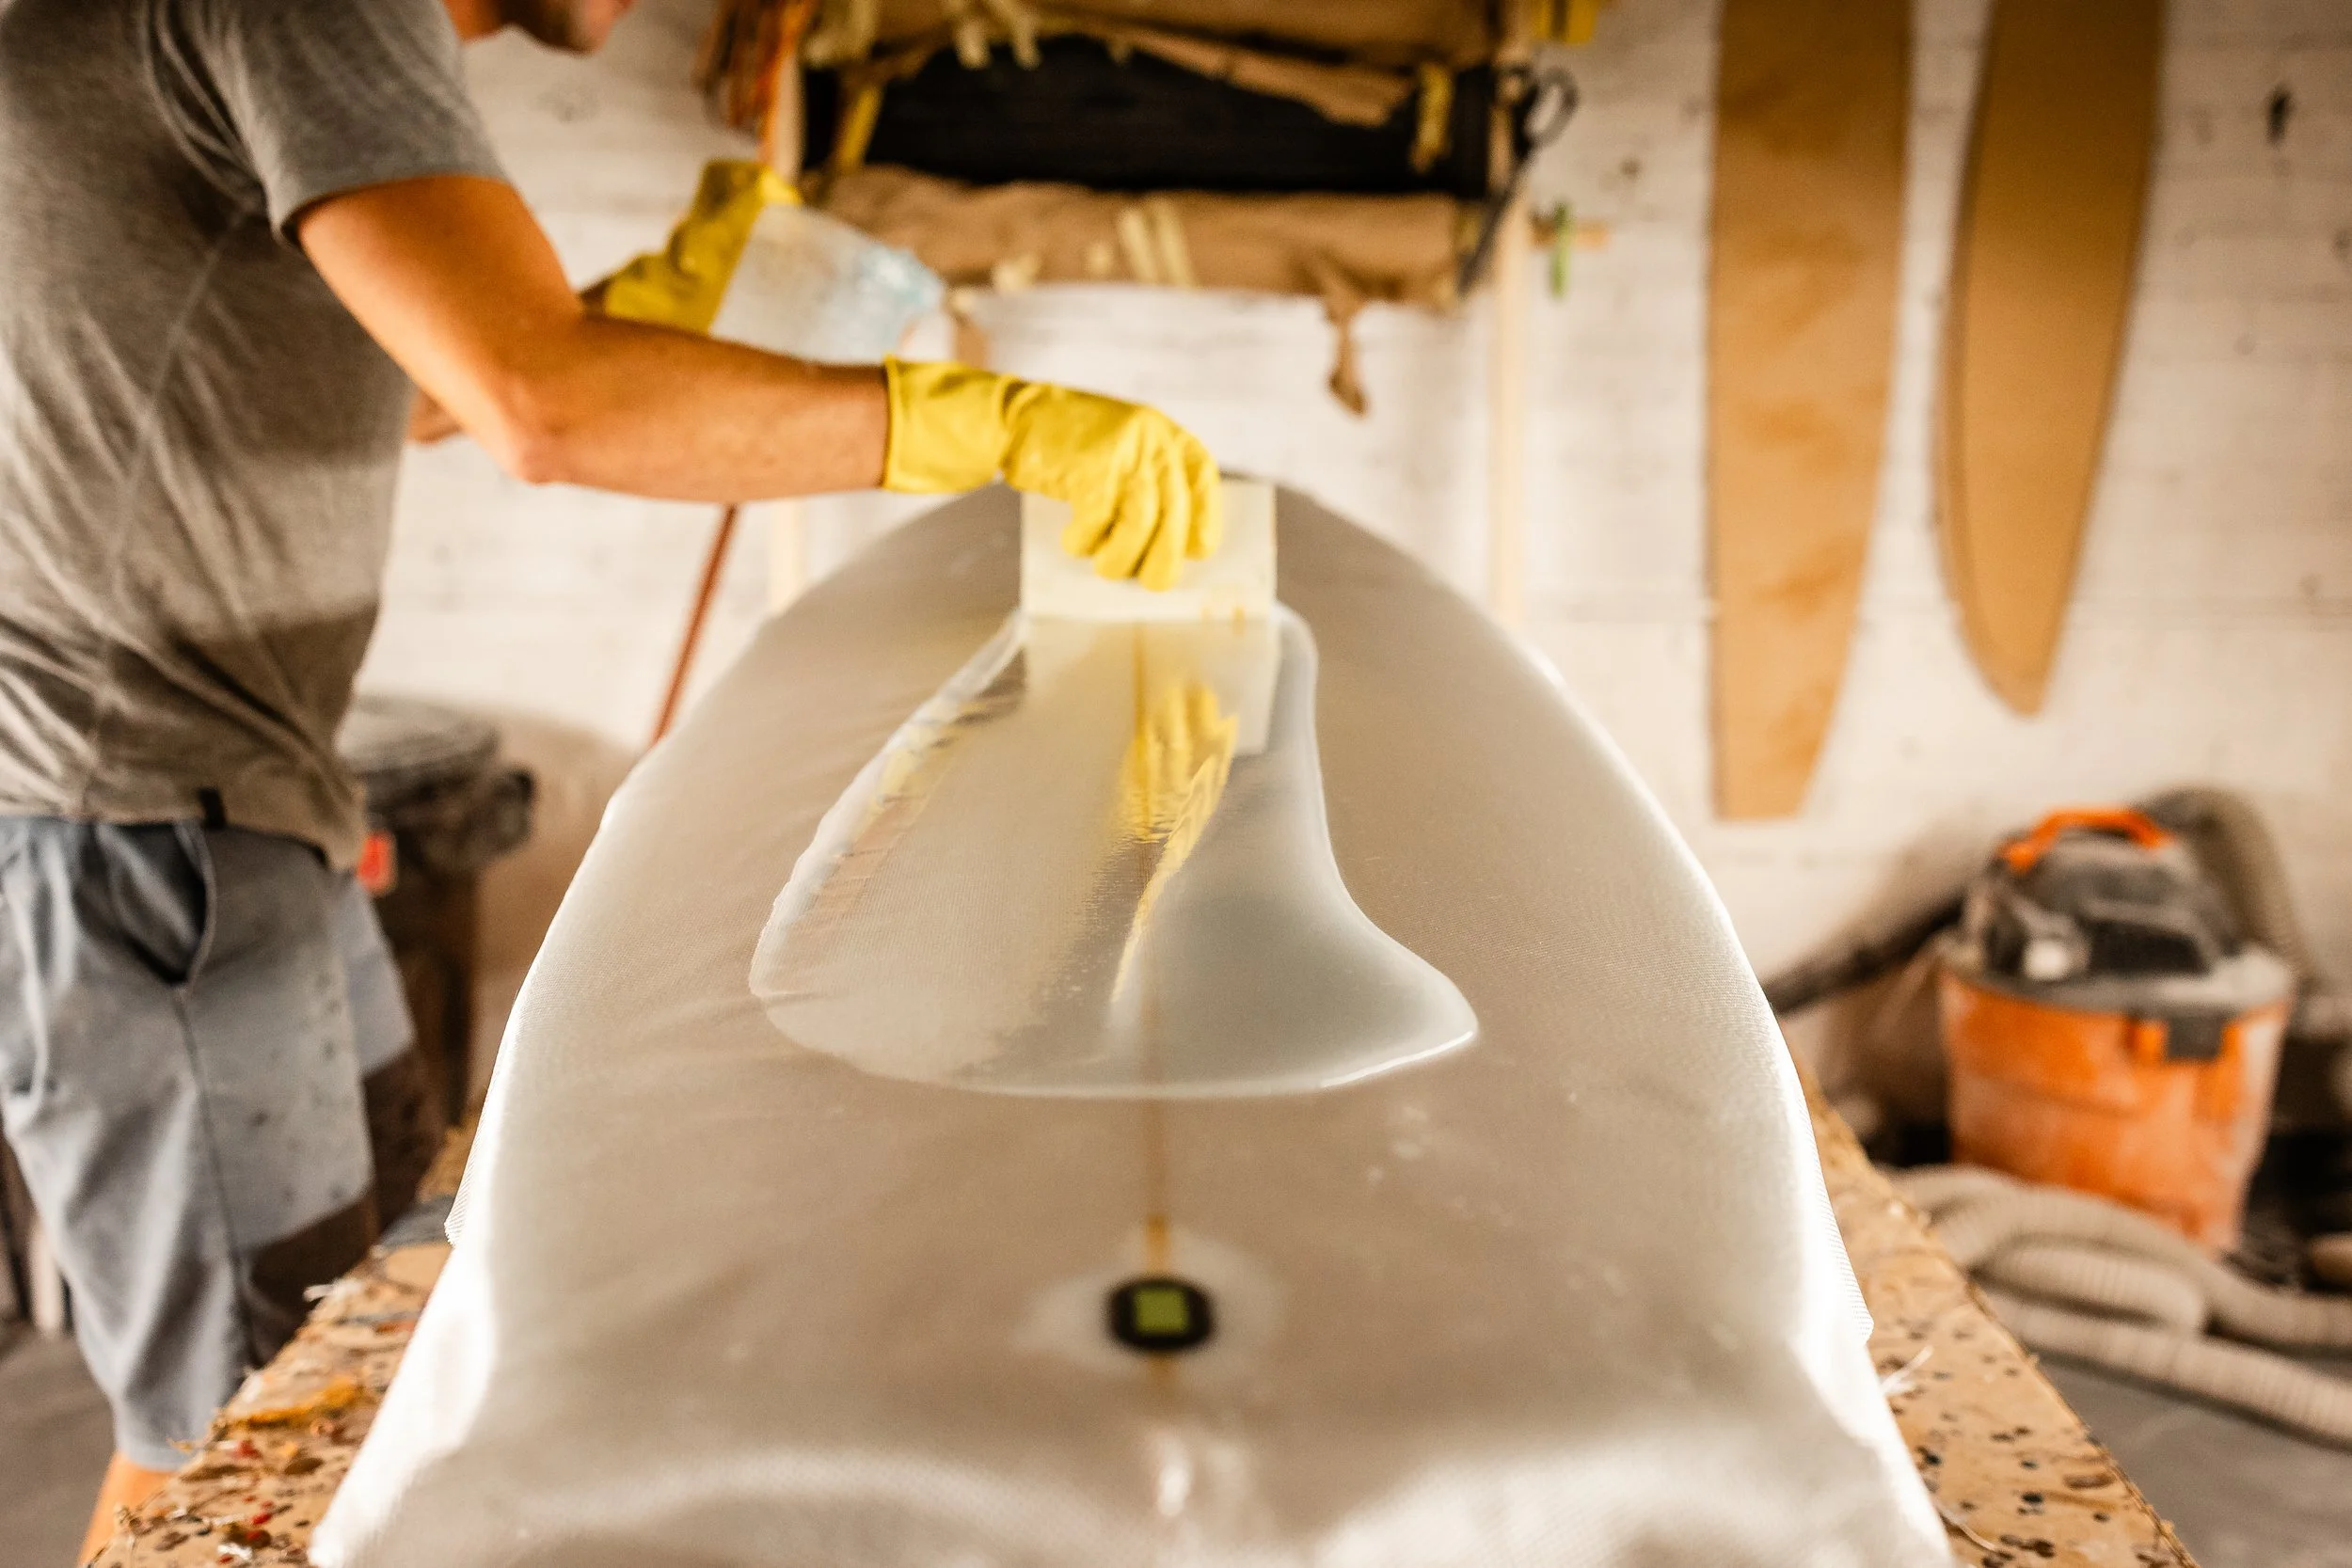
Laminating the deck during the glassing process
Depending on where you live, you can either glass the board yourself, or hand it off to a professional glass shop. Both are legitimate options, and the costs are closer than you might think on your first board (assuming you don’t have any of the tools).
Here’s what to expect cost-wise if you choose to do it yourself:
Trim Router: ~$60
Orbital sander: ~$40
Fin jigs (Futures): ~$80–$120
Router bit (Futures): ~$60 (x2)
Fiberglass cloth: ~$30–$50
Resin (poly): ~$40–$80
Fin boxes + leash plug: ~$30–$50
Squeegee: ~$1.50
Glassing total: ~$341.50 – $521.50.
Most glass shops charge somewhere between $250 and $500 for a poly glass job, depending on the size of the board and the options you choose, like fin setups, resin color, gloss and polish, etc.
So on your first board, the difference between DIYing the glass job and outsourcing it is practically zero — largely because you'll be paying for a few expensive tools you'll only buy once. But on your second or third board, DIY glassing starts saving you $150–$200 per board.
Also, epoxy resin is about 2.5x more expensive than poly, and epoxy glass jobs (DIY or from a reputable shop), will be more expensive. Keep this in mind when choosing materials.
The invisible cost nobody talks about
Here's the thing about the numbers above that I learned from my first board: there's another cost that doesn't show up in any spreadsheet.
It's the experience you're giving up when you decide to build your own and not to buy from a shaper who has been at this for years.
Think about it this way. When you go to a restaurant, you're not just paying for the ingredients or the kitchen tools they use to prepare your meal. What you're paying for is the chef's years of knowing what to do with them — the technique, the instincts, the taste that took a career to develop.
Surfboards work the same way.
What makes a board worth the money is the design knowledge and craftsmanship that went into building it.

Checking the thickness of the blank during shaping
Knowing where to start and stop the edge in the tail, how to set the rail apex, how much curve to put in the template, when to trim the laps for a clean lap line, etc. etc. etc.
That's what a shaper is really selling.
And when you build your own surfboard, you’re relying on your own expertise to ensure your investment in tools and materials pays off instead.
How to build your first surfboard like a pro
Most people tell you your first board is going to suck. But it doesn’t have to.
You can build a professional quality surfboard on your first try. You just need three specific pieces of knowledge.
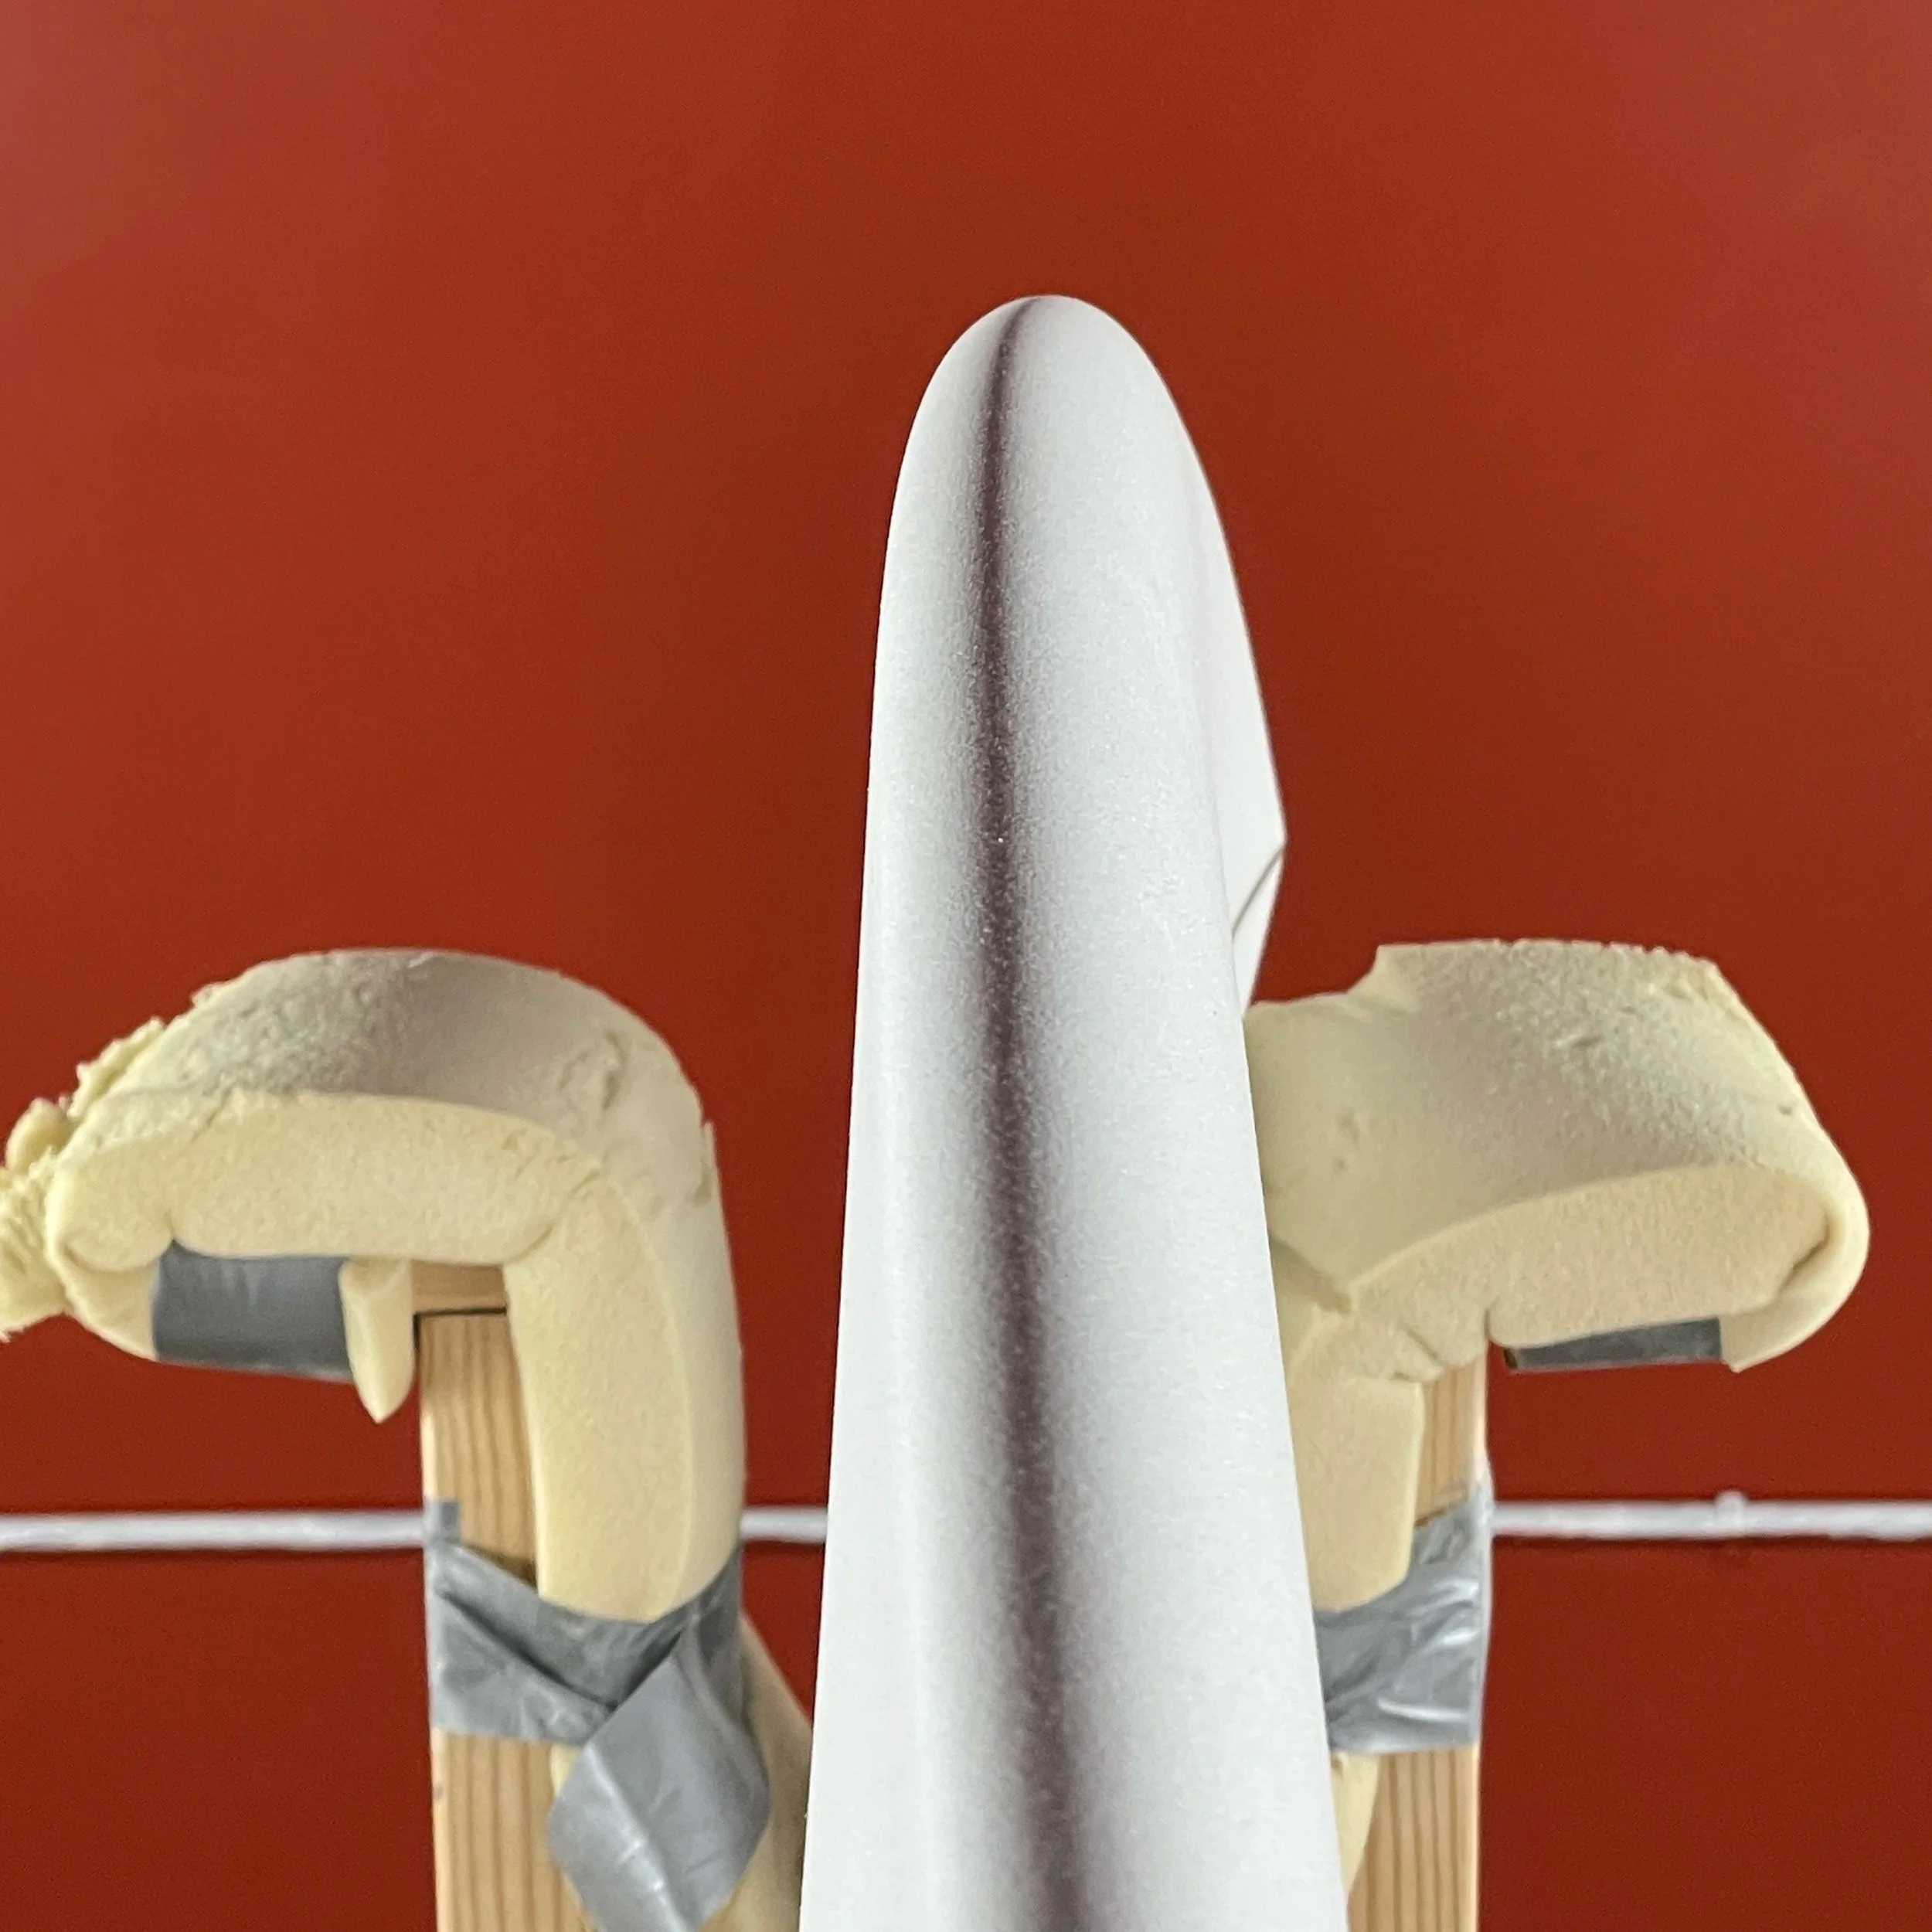
It’s possible to get perfect rails like this on your first try
First, you need to know what you're trying to build and why.
Not just dimensions, but what you're actually trying to achieve with the design — how you want the board to feel, what waves you're building it for, and what design decisions will get you there.
Second, you need a system for translating that design into foam and resin.
Shaping and glassing are cumulative processes — every step builds on the one before it. Get the outline wrong and the rails will never come out right. Get the lamination wrong, and sanding will be a nightmare.
Knowing how to approach the blank systematically, step by step, is what separates a board that comes out well from one that doesn't.
Third, you need to know how to use the tools.
This sounds obvious, but one swipe of the planer the wrong spot can ruin a board. Not because a planer is complicated, but because very few people show you the technique for using it in detail at each step of the process.
This information isn’t on YouTube
None of the knowledge you need to build a professional quality surfboard on your first try requires years of experience to grasp. It just requires someone to explain it to you clearly before you get started.
Take it from someone who watched every shaping video on YouTube and read every “shape your first surfboard” guide trying to figure this out — these resources leave out so much of what you need to know.
Which is why I've built a course that covers everything in a level of detail no one has ever shared before — the design fundamentals, the step-by-step system for translating that design into foam, and the tools and techniques for each stage of the process.
The goal is to give you what nobody gave me when I started: a clear foundation so that the money you spend on materials and tools actually produces a board you’ll love riding for years to come.
Because the first time you drop into a wave on something you built yourself and it actually works, it's a completely different feeling than anything you'll get from a board you bought.
And that feeling doesn’t get old. In fact, it’s why I’m still shaping years later, even though I’ve tried to quit more times than I can count.
Learn more about the course here.
Cheers,
Scott